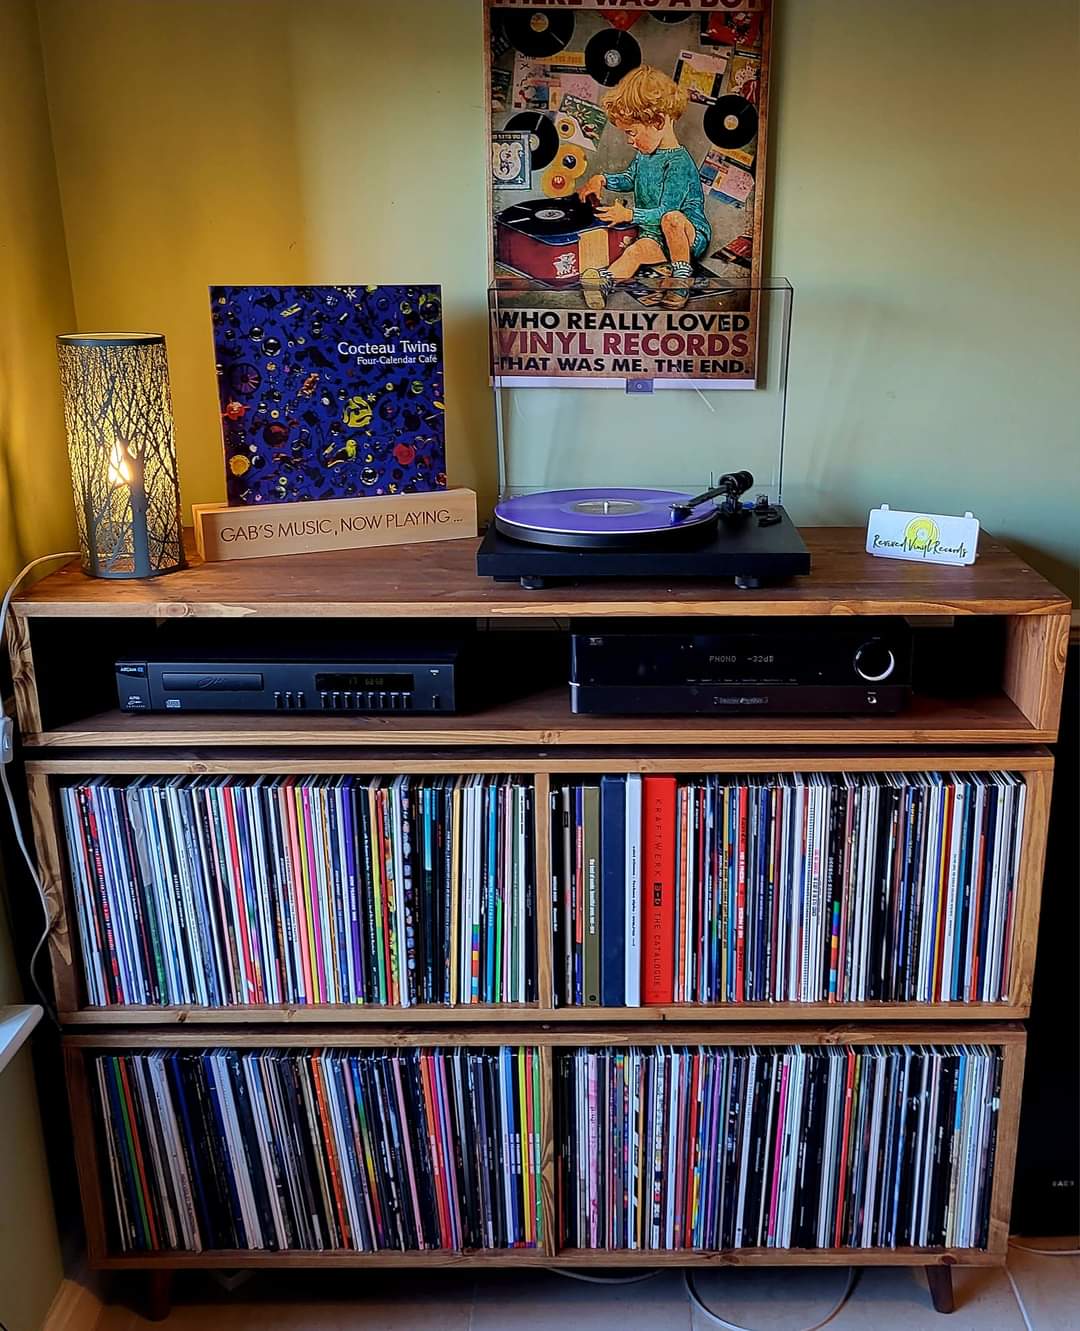
Still scrolling through vinyl record storage photos on Pinterest without a clue where to start? It can feel like every cool setup is either a wild DIY project or costs a fortune. We get it. Your collection is growing, and those records deserve better than a dusty pile in the corner. They’re not just music; they’re art, and they should be a feature in your home, not a problem to be solved.
We’ve done the heavy lifting for you, sorting through hundreds of ideas to find the 30 best vinyl record storage solutions that look amazing and actually work in a real home. This isn’t just another list of generic shelves. We’re talking specific, curated looks from minimalist setups to cozy, library-style rooms. And stay until the end — we break down the most common mistakes that can ruin these looks.
📌 Save this to Pinterest for later — you’ll want to revisit these ideas.
1. The Collector’s Library: Dark Wood Built-ins with a Rolling Ladder
What makes this setup so breathtaking is the sheer commitment to the collection. It treats vinyl not just as a hobby, but as a library of personal history. The design works because of its impressive scale and thoughtful integration. The rolling ladder isn’t just for show; it’s a functional element that says every single record on every shelf is accessible and important. The integrated bar also transforms the corner from simple storage into a dedicated space for listening and entertaining, making it the true heart of the room.
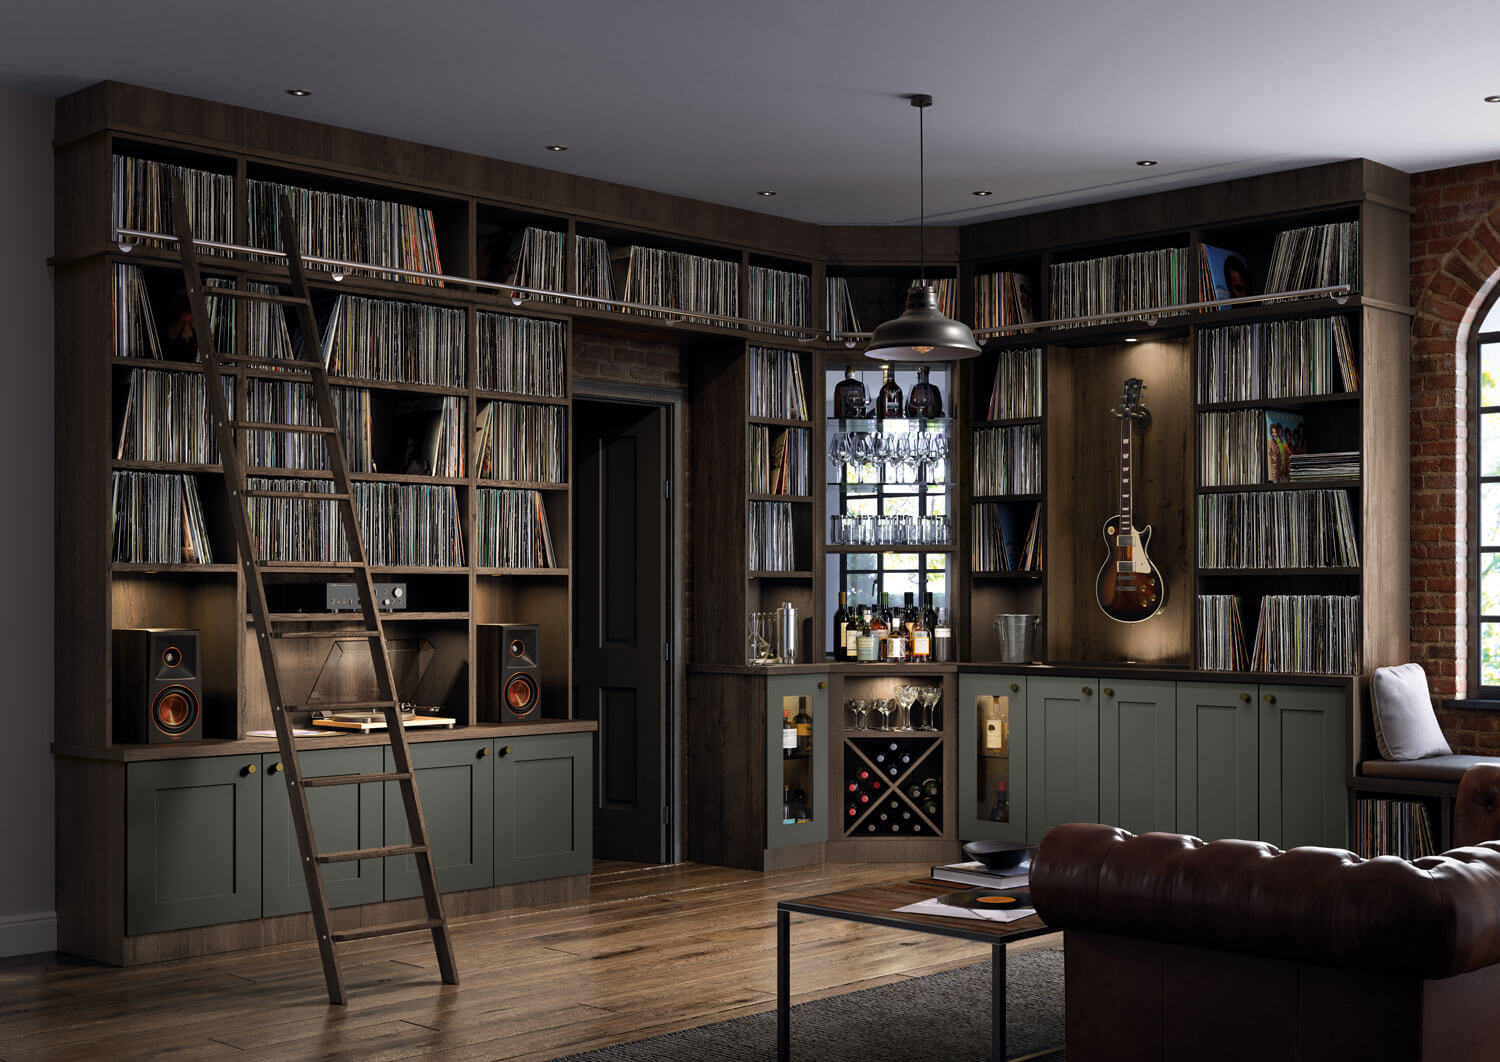
“This is a custom, high-end look, and the investment reflects that.”
Recreating this specific design is a significant project, but the result is a true showpiece that merges multiple functions into one cohesive and stunning wall feature.
- Custom Shelving & Cabinetry: $8,000 – $20,000+
- Rolling Ladder System: $1,500 – $4,000
- Turntable & Audio Gear: $1,000 – $5,000
- Decor & Barware: $500 – $1,500
- TOTAL: $11,000 – $30,500+
- Budget alternative: Achieve a similar feel for 60% less using multiple tall, dark wood bookcases (like IKEA’s BILLY) and a high-quality freestanding bar cart.
2. Minimalist Harmony: A Light Wood Console with Acrylic Dividers
This look is all about a clean, simple formula that you can easily adapt. Think of it as 60% natural materials + 30% neutral color + 10% curated objects. The light wood of the console and floor creates a warm, organic base. The white wall and beige rug provide the soft, neutral canvas. Finally, the black of the audio equipment, the green of the plant, and the pop of color from the artwork serve as intentional, minimalist accents. You could swap the light wood for a darker walnut or change the plant for a stack of colorful books and the formula would still hold perfectly.
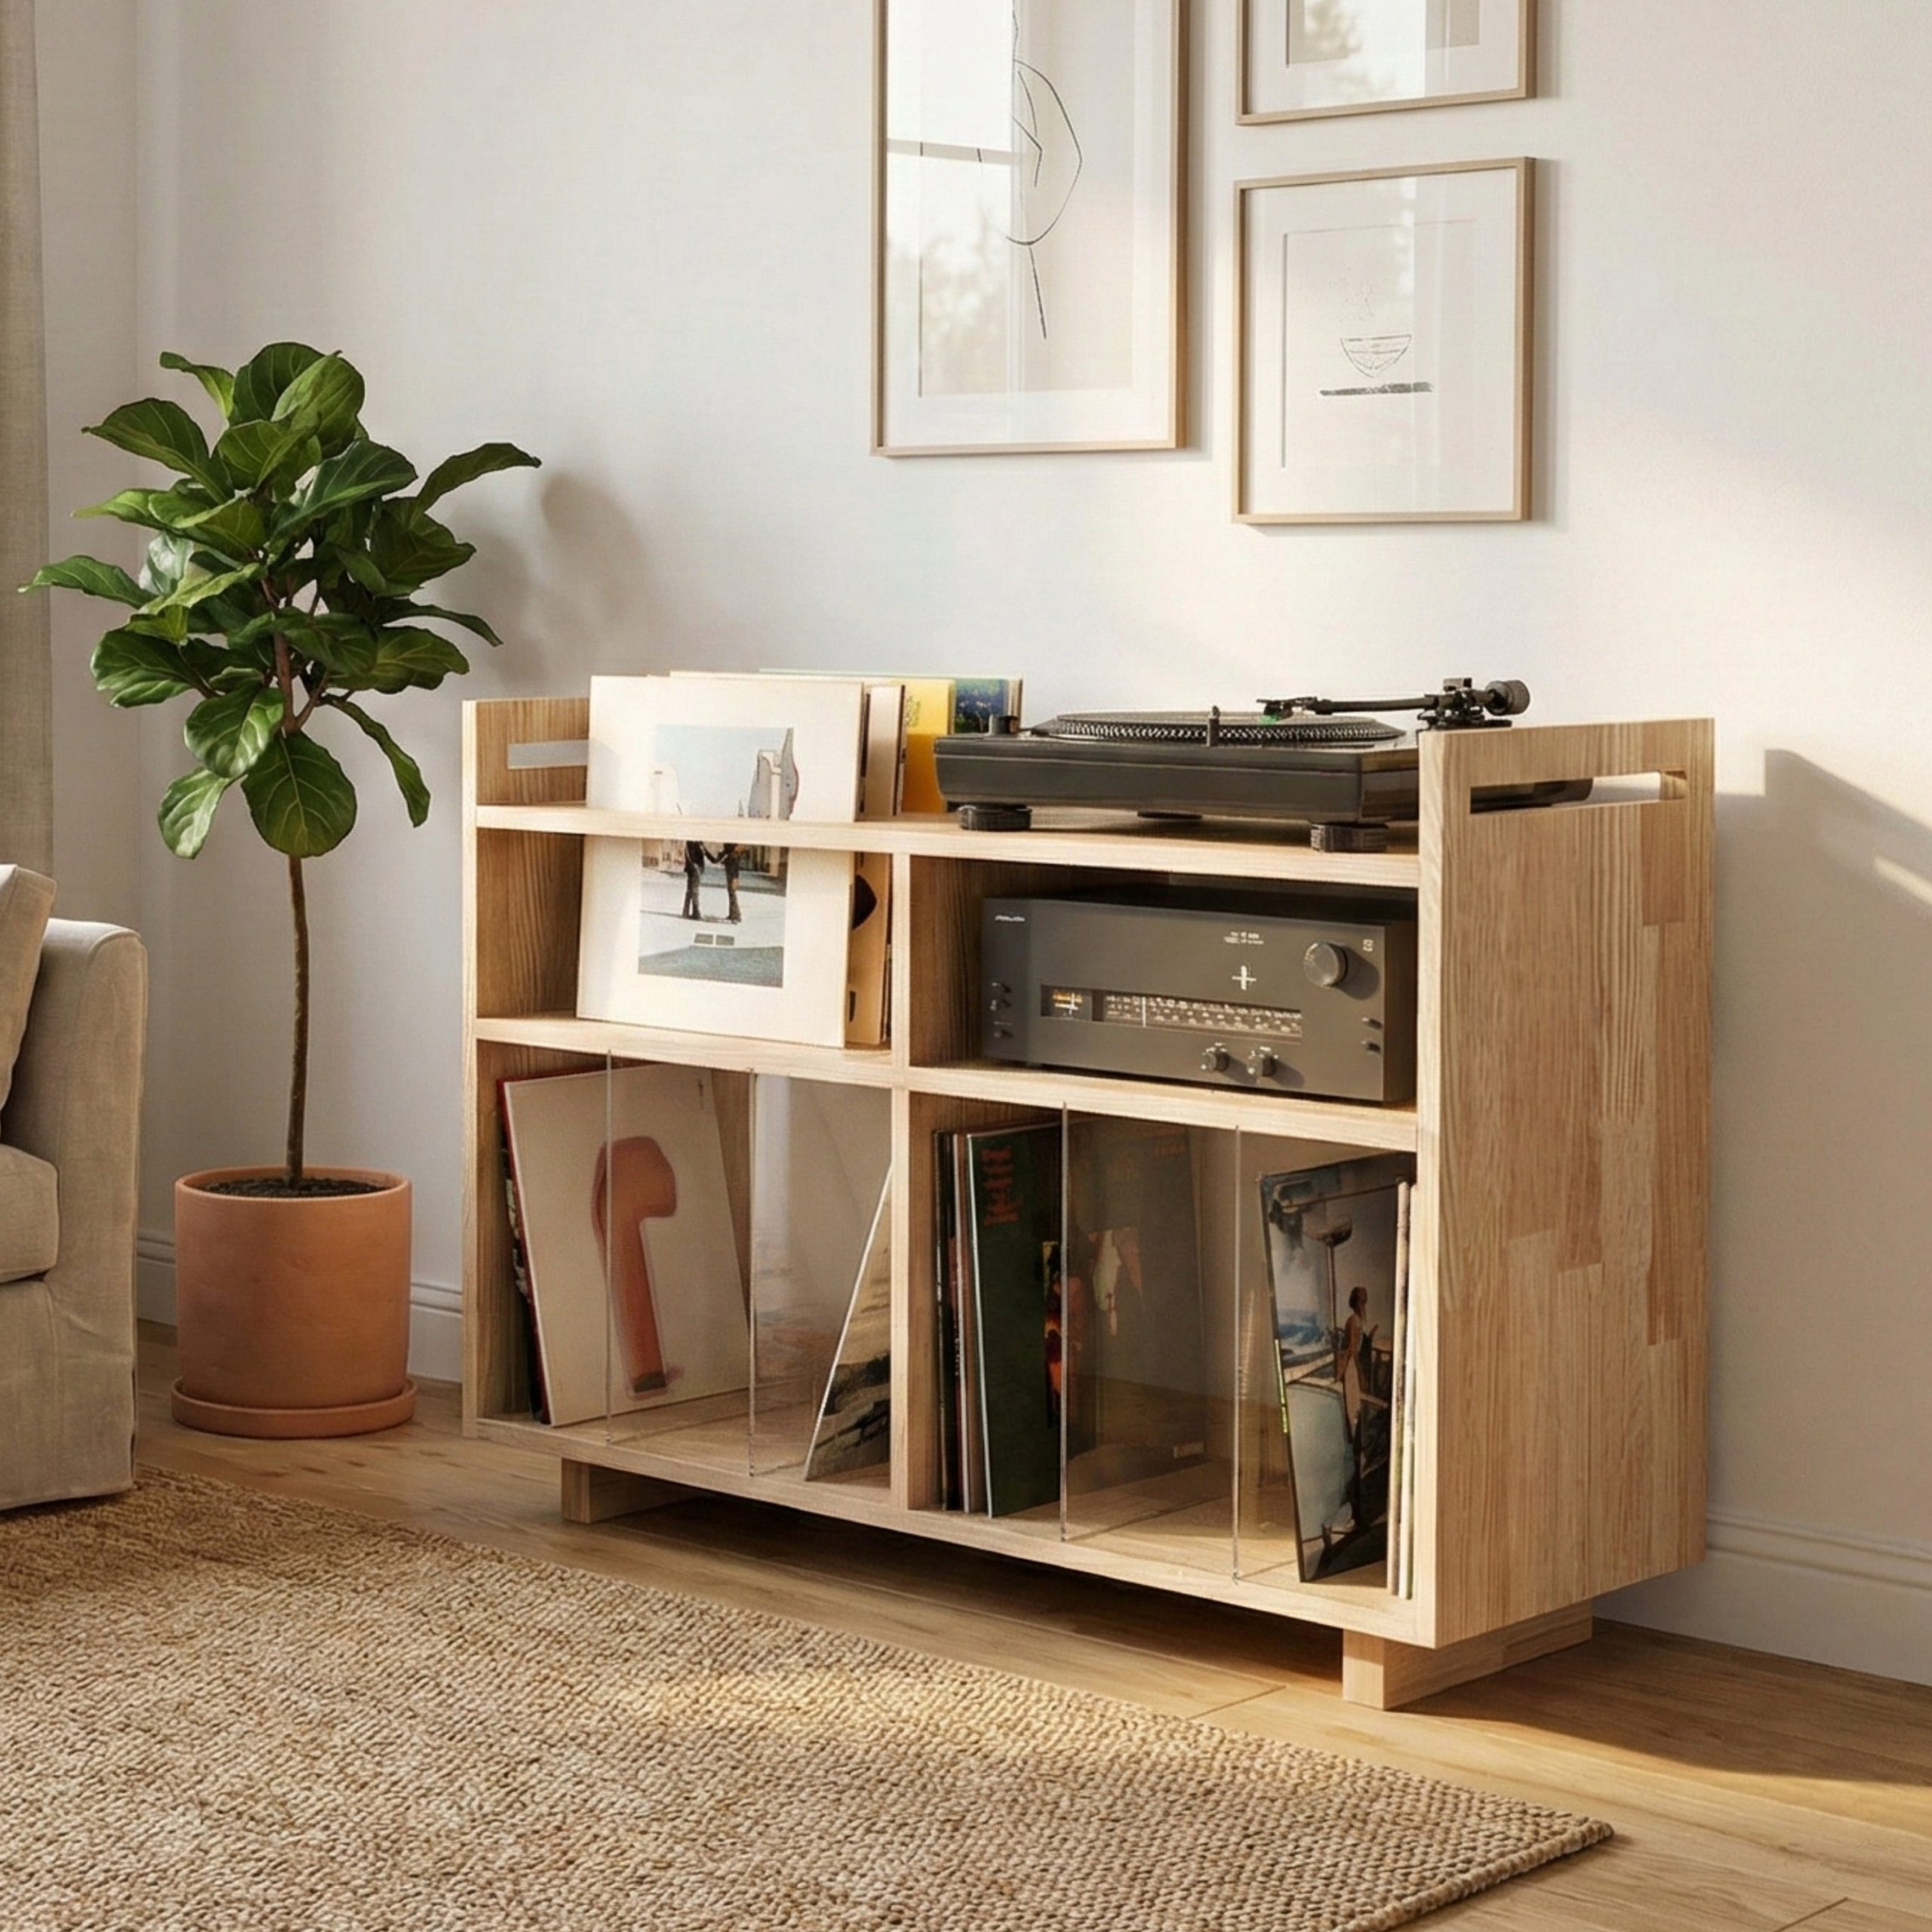
“To keep a minimalist console from looking cluttered, the secret is in the spacing.”
Aim for at least 4-6 inches of “breathing room” around each object on the top surface. Don’t let the turntable, receiver, and decor touch. This negative space is what creates that calm, intentional, and gallery-like vibe. It signals that each item was placed with purpose, rather than just being set down wherever it fit. For a look this clean, check out options from brands like Article or West Elm.
3. The DJ Booth: Stacked Cube Shelving for a Functional Setup
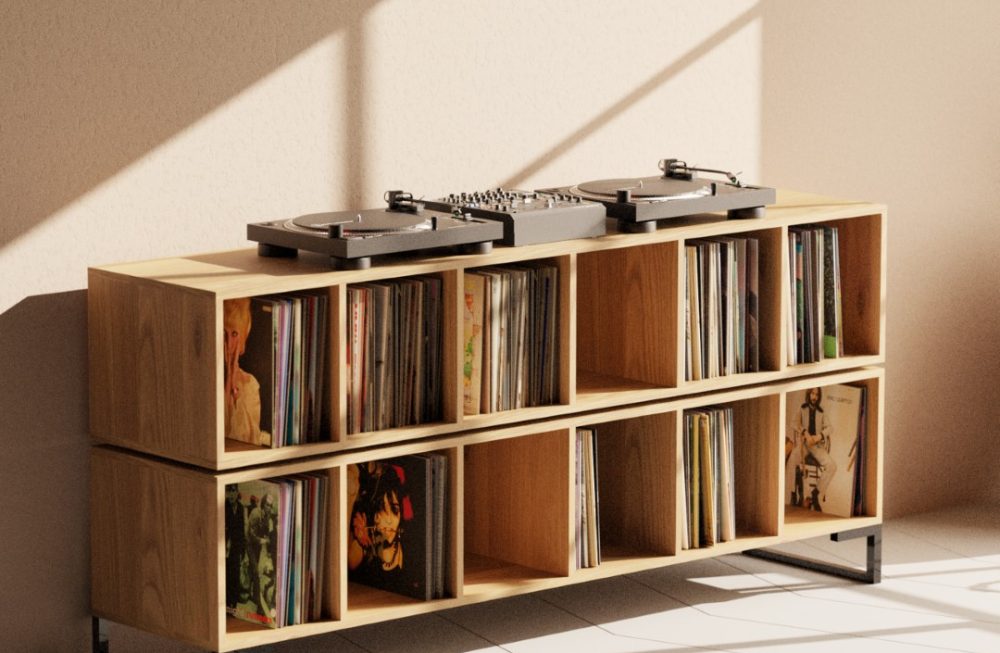
You don’t need a custom-built DJ booth to create a super functional two-turntable setup. This entire look is a masterclass in affordable, modular furniture. The core is two stacked cube shelving units, which are famously inexpensive. You can get the classic KALLAX from IKEA for about $50-$90 per unit. A set of simple metal legs can be found on Amazon or Etsy for under $40. For less than $250, you can build the foundational structure for a setup that looks professional and organized, leaving more of your budget for the actual audio gear.
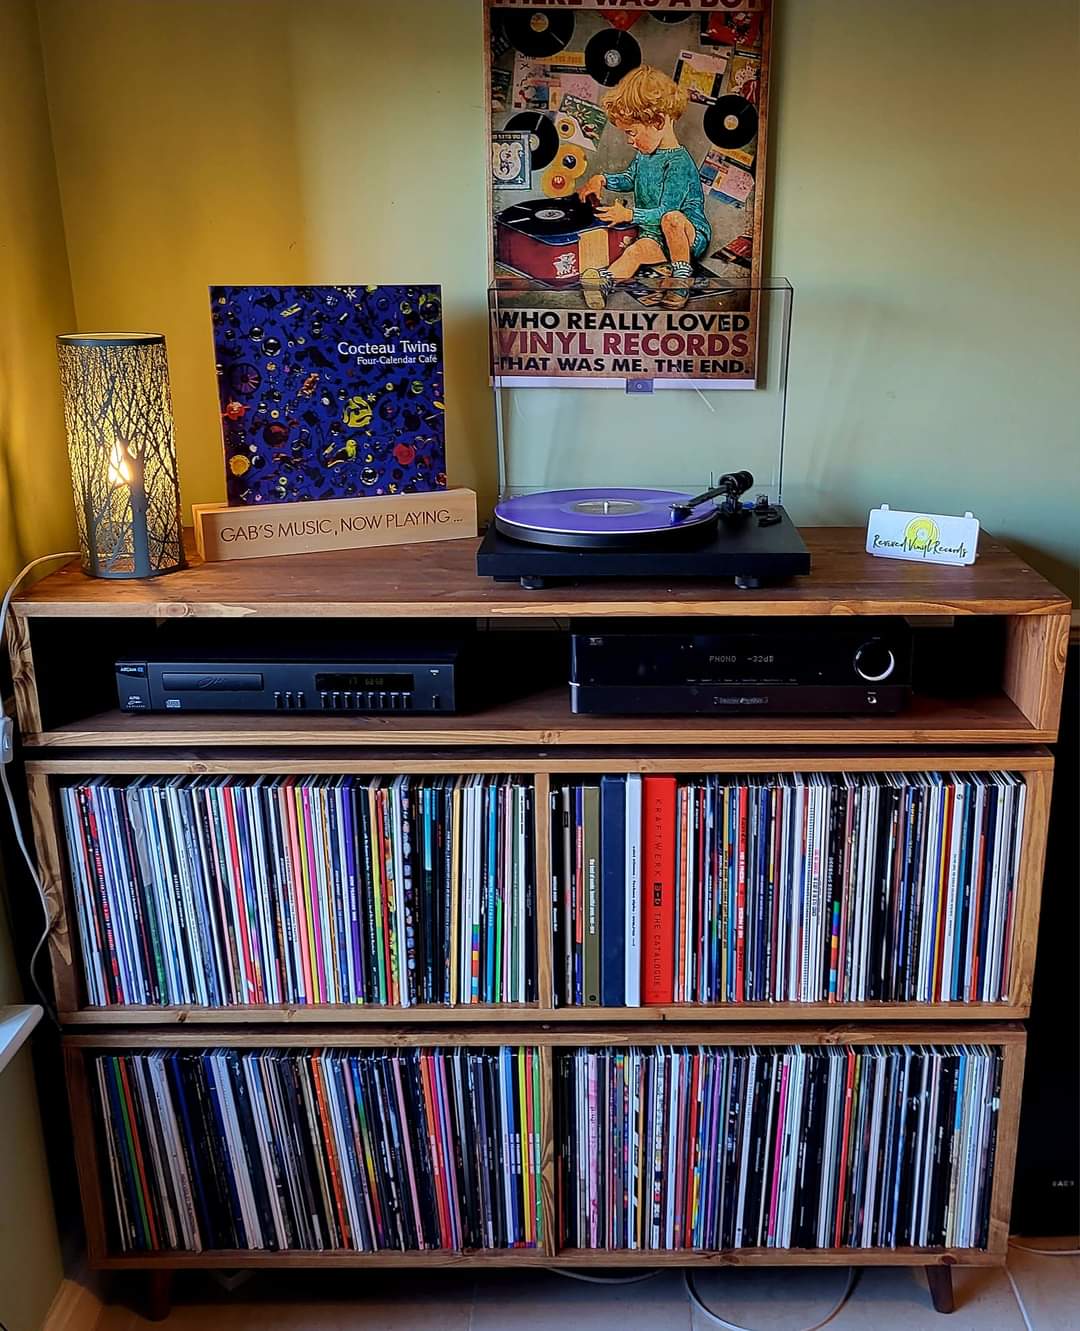
“A word of caution: weight.”
A standard 12-inch vinyl record weighs about 5-6 ounces. A full cube of records can easily weigh 50-60 pounds. When you stack two units like this, you’re concentrating a lot of weight on the lower unit and the legs. Ensure the shelving unit is rated for this kind of load, and always, always anchor the top unit to the wall to prevent a catastrophic tip-over, especially if you have kids, pets, or plan on actively DJing.
4. Modern DJ Stand in Light Wood with Tropical Artwork
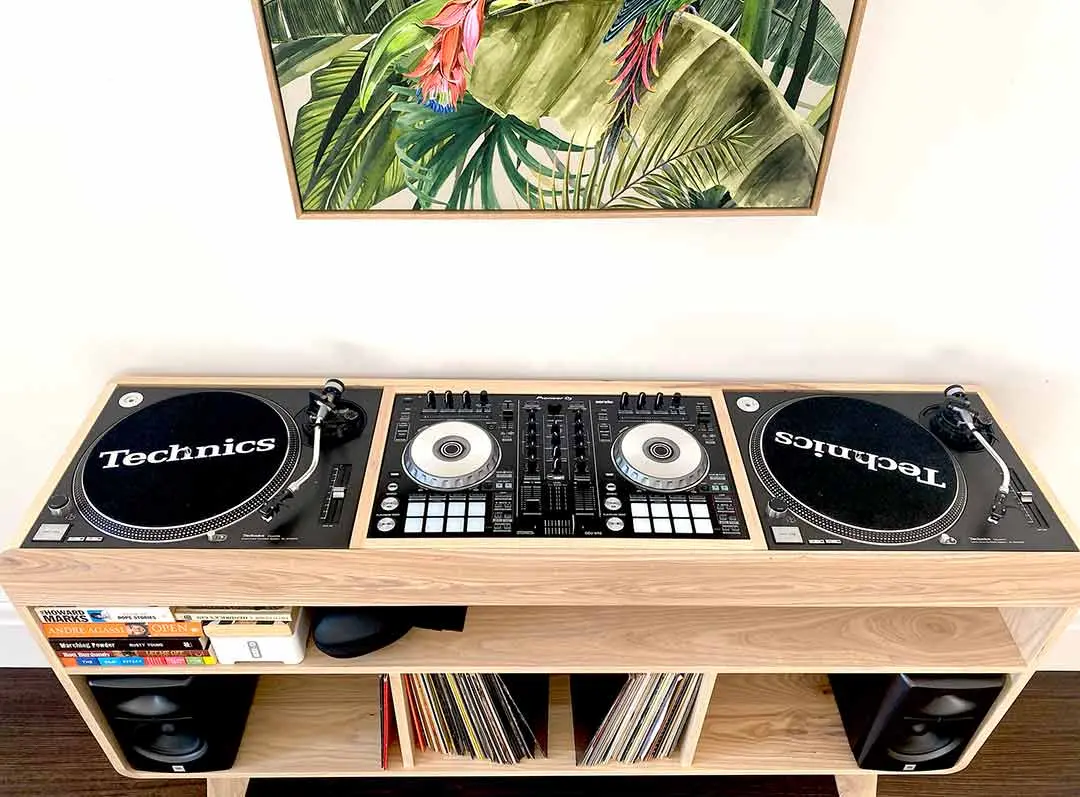
that truly makes this setup work is the perfect integration of storage and function. It’s not just a table with DJ gear on it; it’s a purpose-built piece of furniture. The dedicated, perfectly sized niches for the turntables, mixer, and speakers show that this was designed specifically for a musician. Removing this custom fit would turn it into a generic console. It’s this bespoke quality that elevates it from a simple hobby corner to a professional-grade command center that is both beautiful and highly practical.
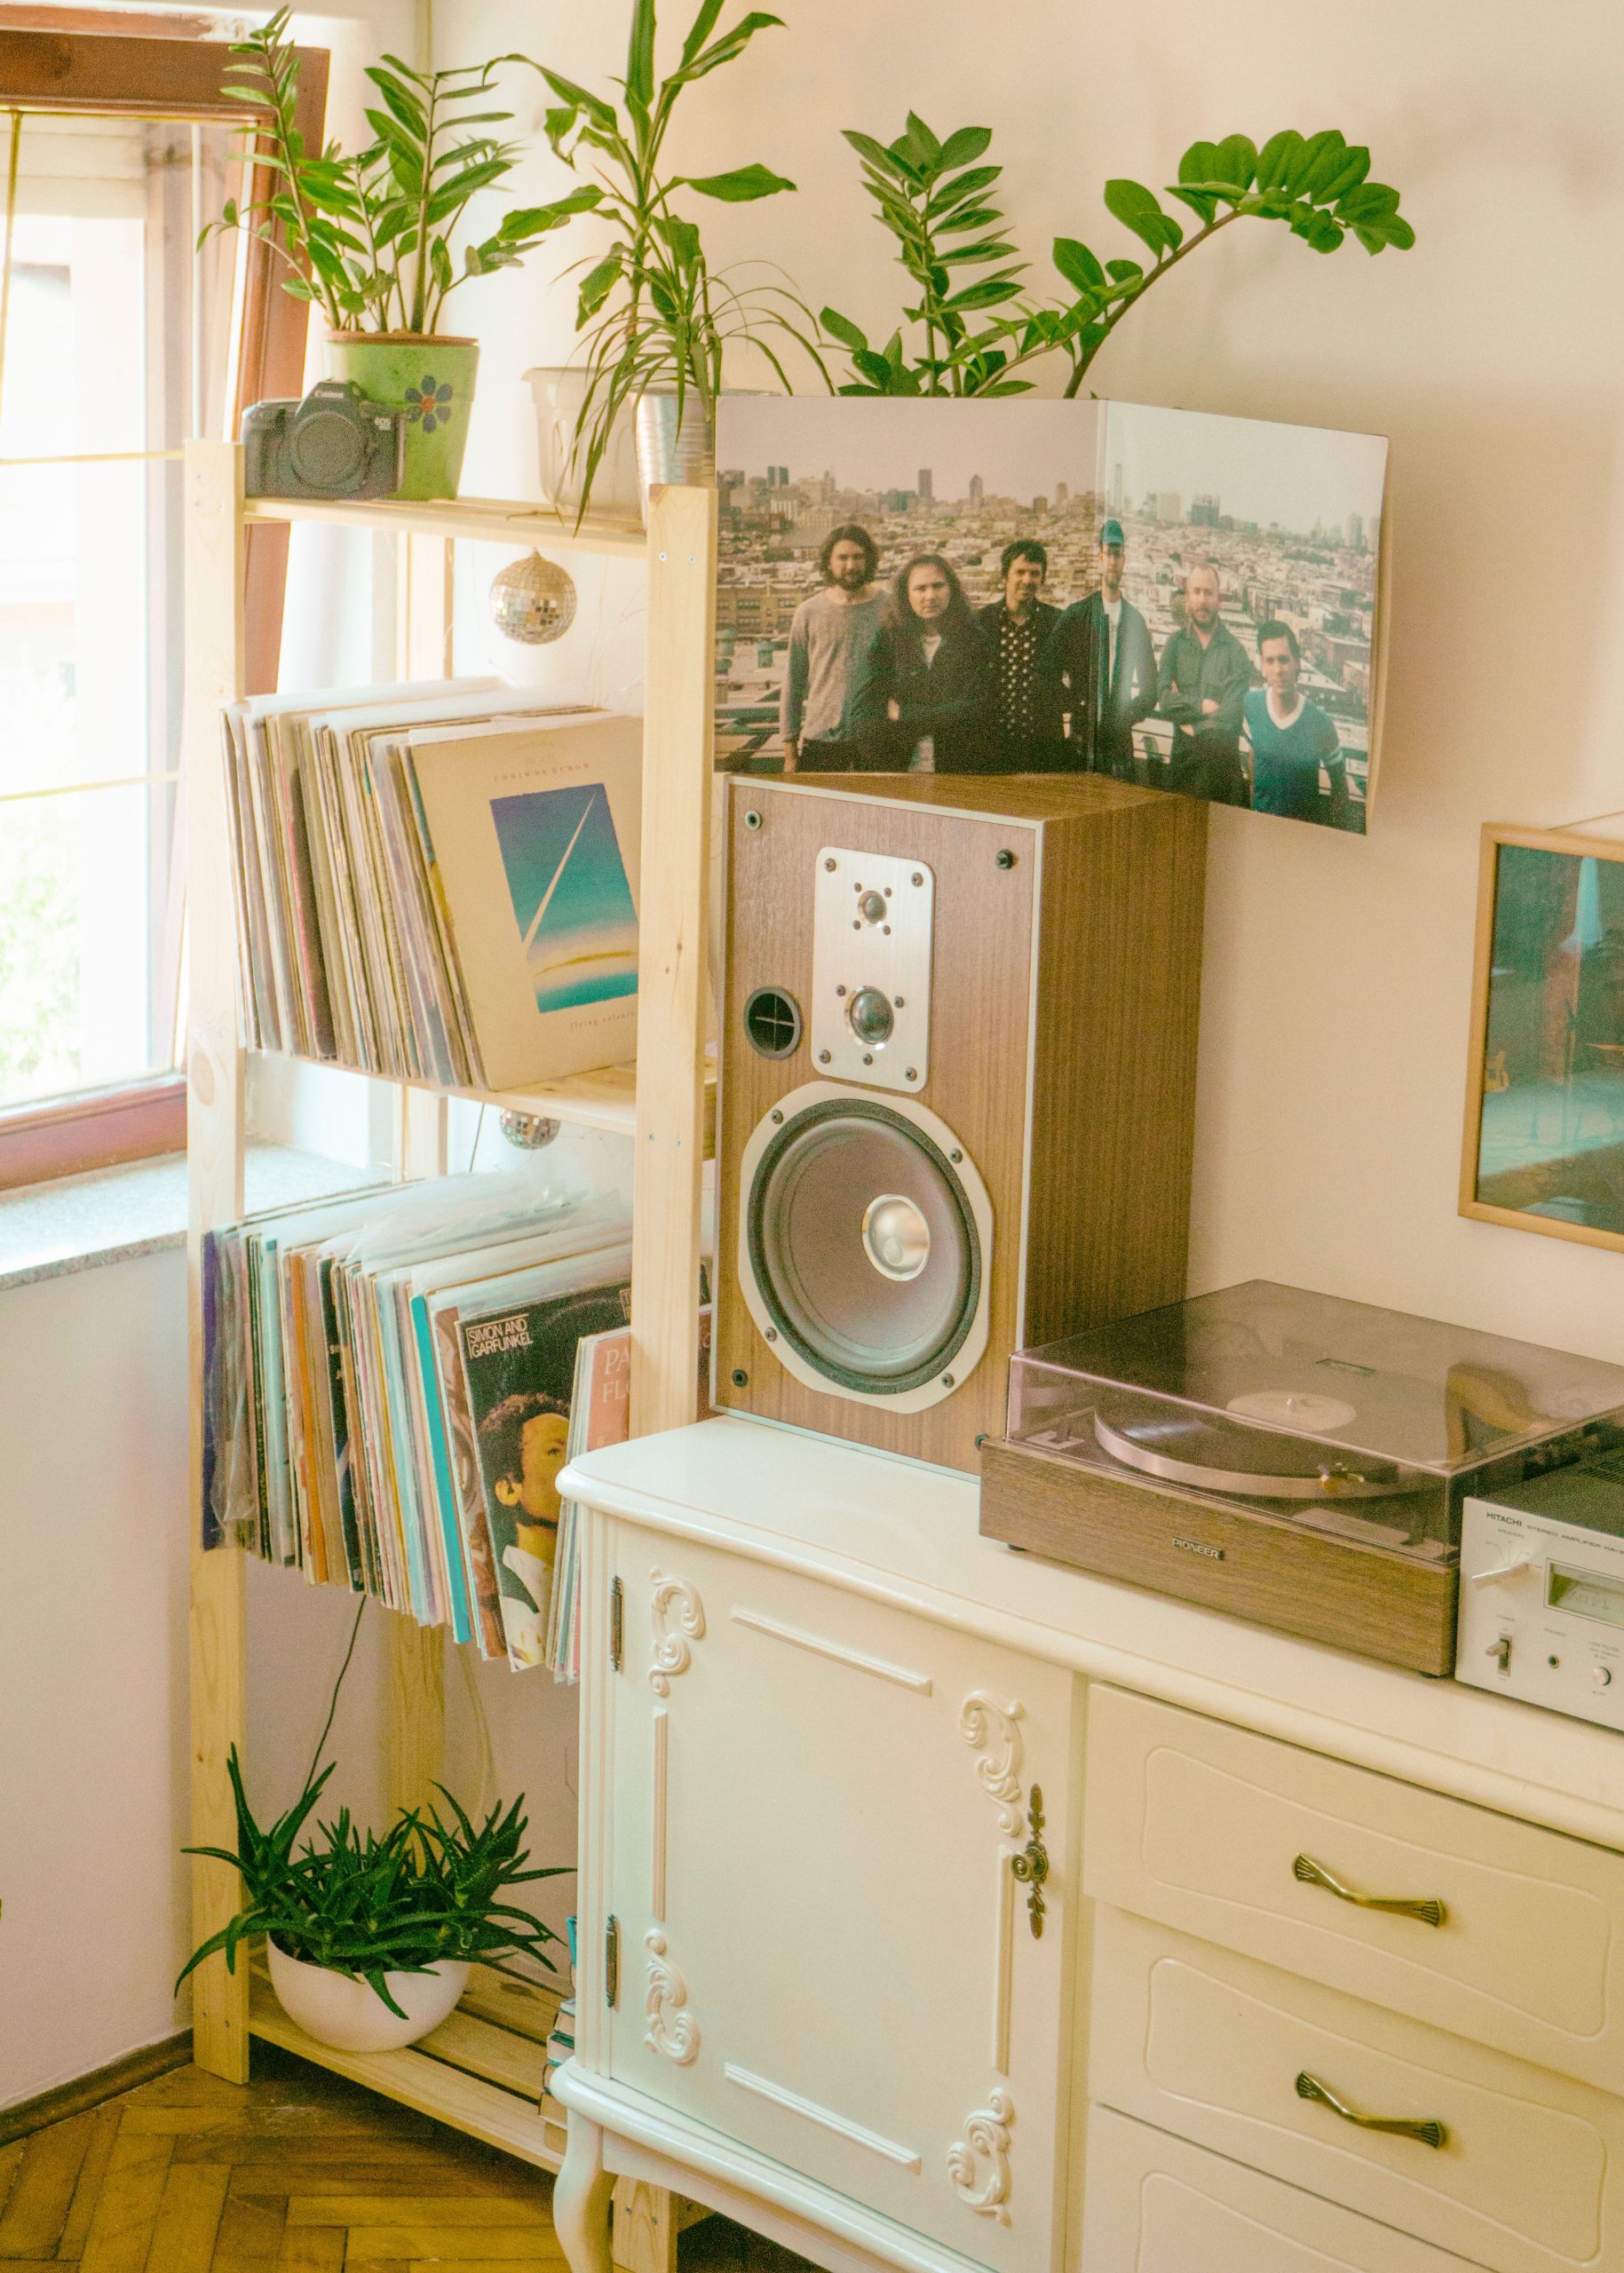
“This kind of integrated DJ stand is ideal for a dedicated music room or a larger living area, but it’s surprisingly scalable.”
The unit itself is likely around 60-72 inches wide to comfortably fit two turntables and a mixer. It would require a room with at least 120 square feet to not feel cramped, allowing for space to move around it. However, a smaller version for a single turntable setup could work beautifully in a room as small as 80 square feet, making it a versatile concept for apartments and bedrooms.
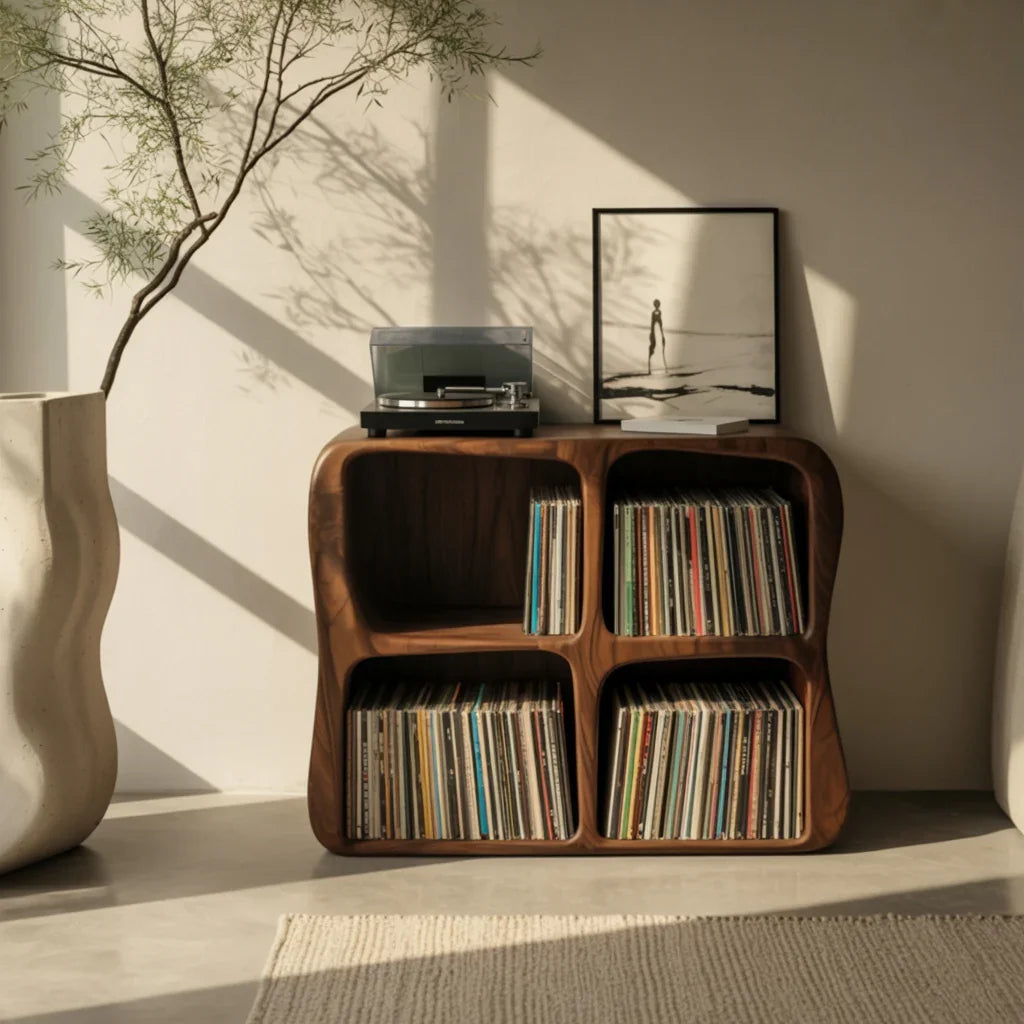
5. A Sculptural Wood Cabinet for an Organic, Minimalist Vibe
This piece is so much more than just storage; it’s functional art. What makes it work is the beautiful tension between its organic, sculptural form and the rigid geometry of the records it holds. The fluid lines of the dark wood create a sense of movement, while the neat stacks of vinyl provide a satisfying, rhythmic pattern. The decision to keep the surrounding decor minimal—a simple textured rug, a monochrome print, and a single vase—is key. It allows the cabinet to be the undisputed star of the show without any visual competition.
“An art piece like this requires a little extra care.”
Those beautiful curves and open compartments are magnets for dust. Expect to dust this piece weekly with a soft microfiber cloth to keep it looking its best. For the deeper nooks where the records sit, a can of compressed air (used for keyboards) once a month will be your best friend to blow out any settled dust without having to remove all the albums. The wood itself would benefit from a quality furniture polish every 6-12 months to keep the finish rich and protected.
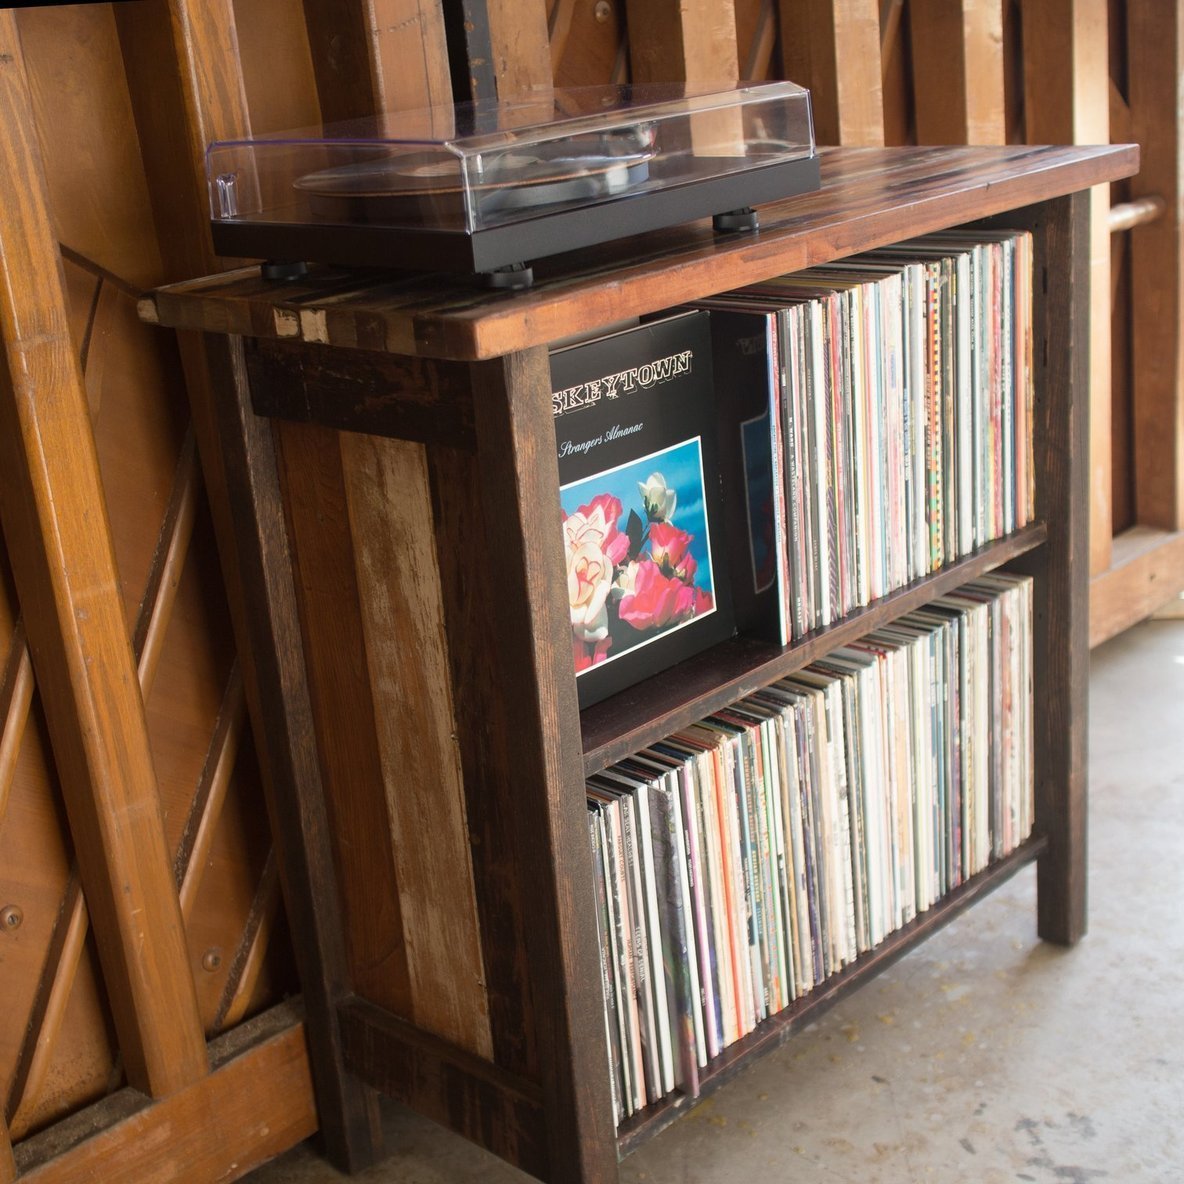
6. Rustic Charm: Reclaimed Wood Console with Open Shelving
The move towards reclaimed and rustic materials isn’t just about aesthetics; it’s about storytelling. In a world of mass-produced furniture, a piece made from reclaimed wood brings a sense of history and character into a room. Each knot, grain, and imperfection tells a story. This trend has staying power because it connects us to natural materials and sustainability. It feels authentic and warm, a perfect counterbalance to the coldness of technology. Pairing it with a high-tech turntable creates a wonderful old-meets-new dynamic that is very current.
“When styling a rustic piece like this, let the wood be the main feature.”
Don’t overcrowd the shelves. Notice how the records are neatly aligned, but the space isn’t stuffed to capacity. To replicate this, aim to fill only about 80% of the shelf space. This breathing room prevents the console from looking like cluttered storage and instead presents it as a curated display. This approach keeps the look feeling intentional and high-end, even with its rustic roots. Compare this to the more casual approach in Idea #24.
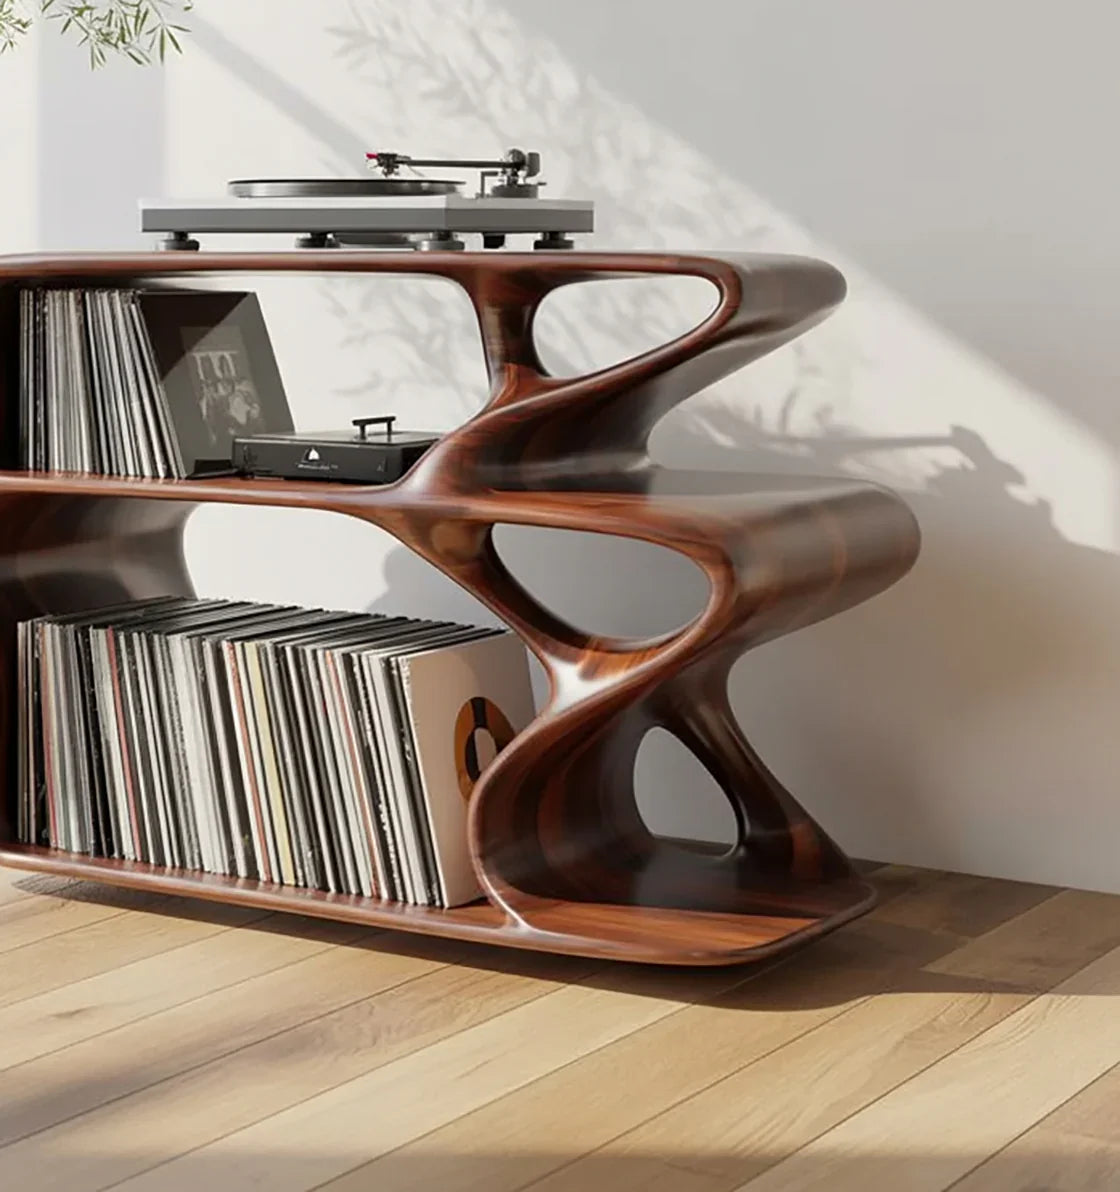
7. The Wave: A Sculptural Dark Wood Stand with Organic Shelves
Without a doubt, the one thing that makes this piece unforgettable is its daring, sculptural form. The wavy, organic dividers completely defy the conventional boxy shape of record storage. It’s a functional sculpture that happens to hold records. If you were to replace this with a standard rectangular shelf, the room would lose its focal point and its most dynamic element. This stand is a statement about embracing artistry in everyday objects, turning simple storage into a conversation starter.
“Let’s be honest: a design this unique comes with practical considerations.”
While visually stunning, the irregular shapes of the shelves might not be the most efficient use of space compared to a standard cube unit. You might fit fewer records per square foot. Also, a piece this top-heavy and design-forward could be a tipping hazard if not perfectly balanced or if placed in a high-traffic area. It’s best suited for a quiet corner where it can be admired without being bumped into, especially if you have pets or small children.
8. Floating Walnut Shelf for a Minimalist Amp and Record Display
When creating a floating or wall-mounted audio setup, cable management is everything. The magic of the ‘floating’ look is immediately ruined by a tangle of dangling wires. Before you install the shelf, plan your cable route. You can run them behind the wall for the cleanest possible look, or use a slim, paintable cord cover that runs vertically down the wall from the shelf to the outlet. Grouping the power, speaker, and interconnect cables together into one channel creates a much cleaner, more professional finish.
“Before you commit to a floating shelf for expensive audio equipment, a checklist is essential.”
First, confirm your wall type. Is it drywall, plaster, or masonry? This will determine the type of anchors you need. Second, locate the studs. For anything heavy like an amplifier, you absolutely must anchor the shelf directly to wall studs. Third, weigh your equipment. Add up the total weight of your turntable, amp, and a representative stack of records to ensure it’s well under the shelf’s maximum load capacity.
9. Curated Stacks: A Dark Bookcase Topped with Decorative Objects
This moody, sophisticated look follows a simple ‘more is more’ formula, executed with control. It’s about 80% dark, uniform storage + 20% curated, colorful chaos on top. The dark bookcase filled with neatly organized records creates a solid, rhythmic foundation. This visual quietness gives you permission to be more expressive and personal on the top surface. Here, a mix of shapes, textures, and colors—the round plate, the wire basket, the stack of papers—adds personality without overwhelming the entire wall.
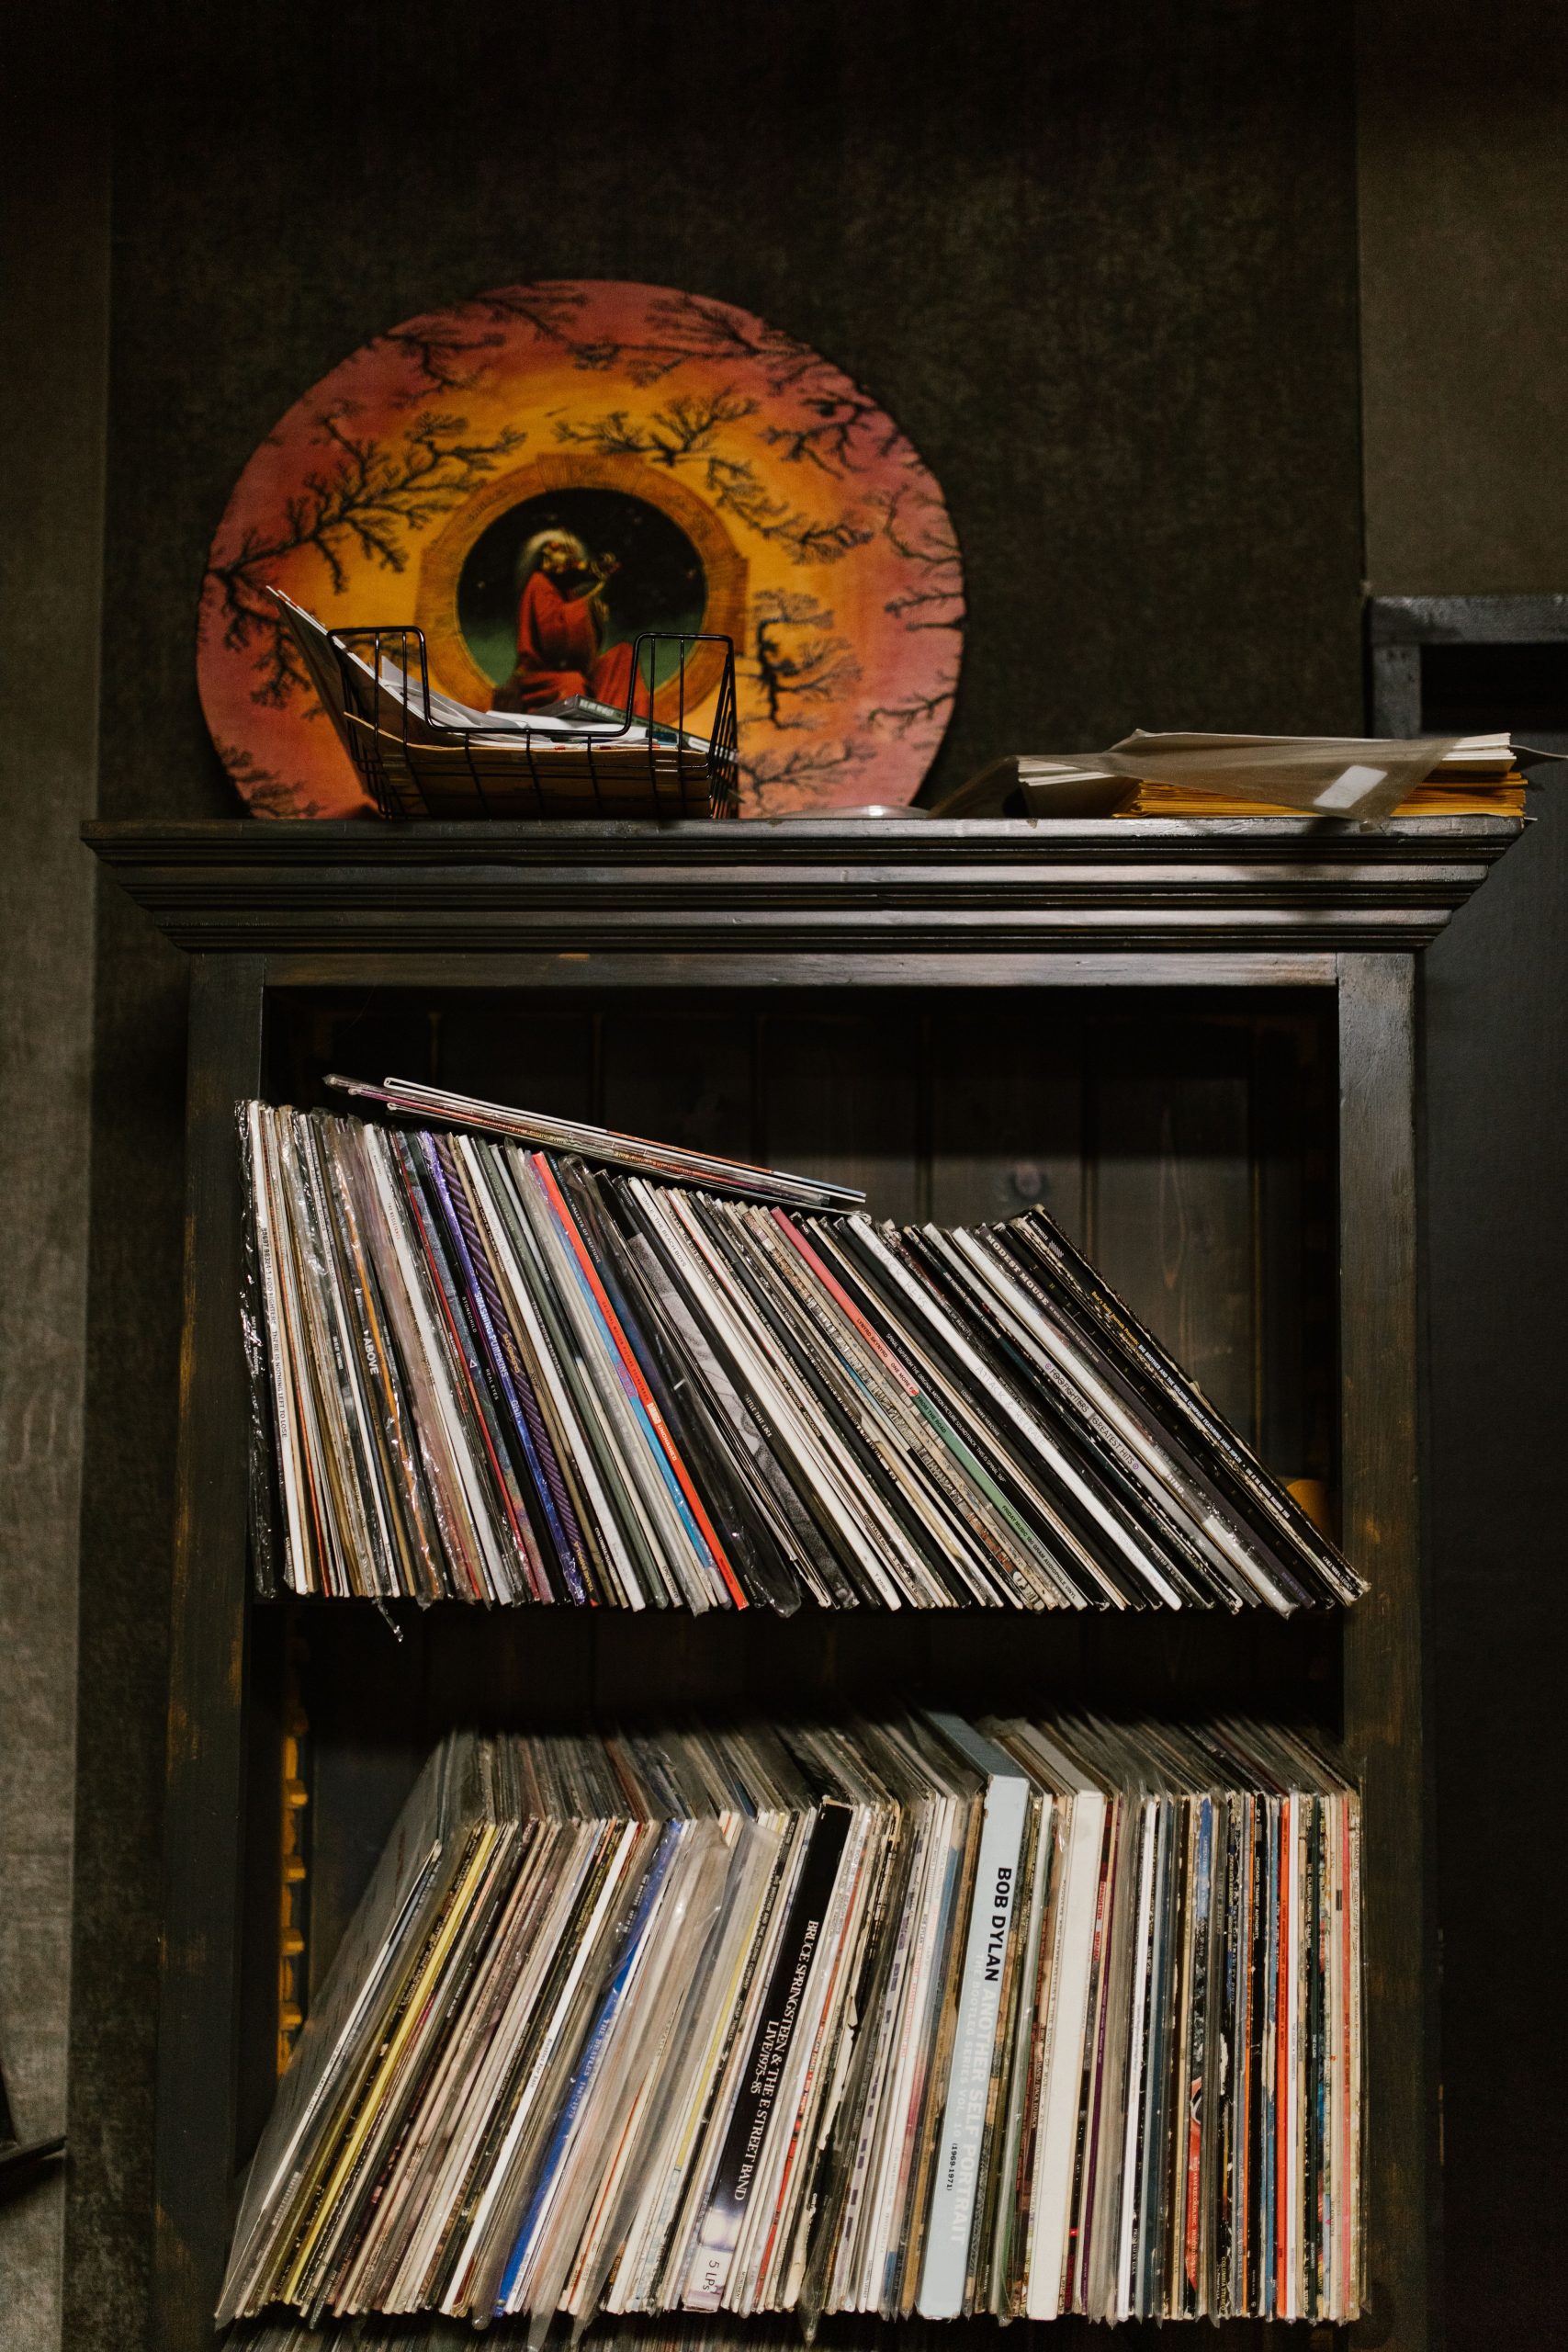
“To get this ‘perfectly imperfect’ curated top, follow these steps.”
Time: 15 minutes. Cost: $0 (using what you have). 1. Start with your largest, most visually dominant piece (the decorative plate). Place it slightly off-center. 2. Add a piece with a contrasting texture and shape (the wire basket). Let it overlap the first item slightly. 3. Create a vertical element with a stack of books or papers. 4. Add one small, personal object. 5. Step back and squint. If it looks balanced but not rigidly symmetrical, you’ve nailed it.
10. Contemporary Cool: A Dark Wood Modular Unit on Sleek Metal Legs
High-end furniture brands like Herman Miller or Design Within Reach sell beautiful modular systems for thousands, but you can achieve this exact aesthetic for a fraction of the cost. Start with a dark wood cube shelving unit—IKEA’s KALLAX is the go-to here, often available for under $100. The key to elevating it is the legs. A set of minimalist square bar metal legs, like the ones shown, can be purchased from an online furniture parts supplier for $50-$150. By simply adding these stylish legs, you lift the inexpensive unit off the floor, giving it a lighter, more architectural, and distinctly contemporary profile.
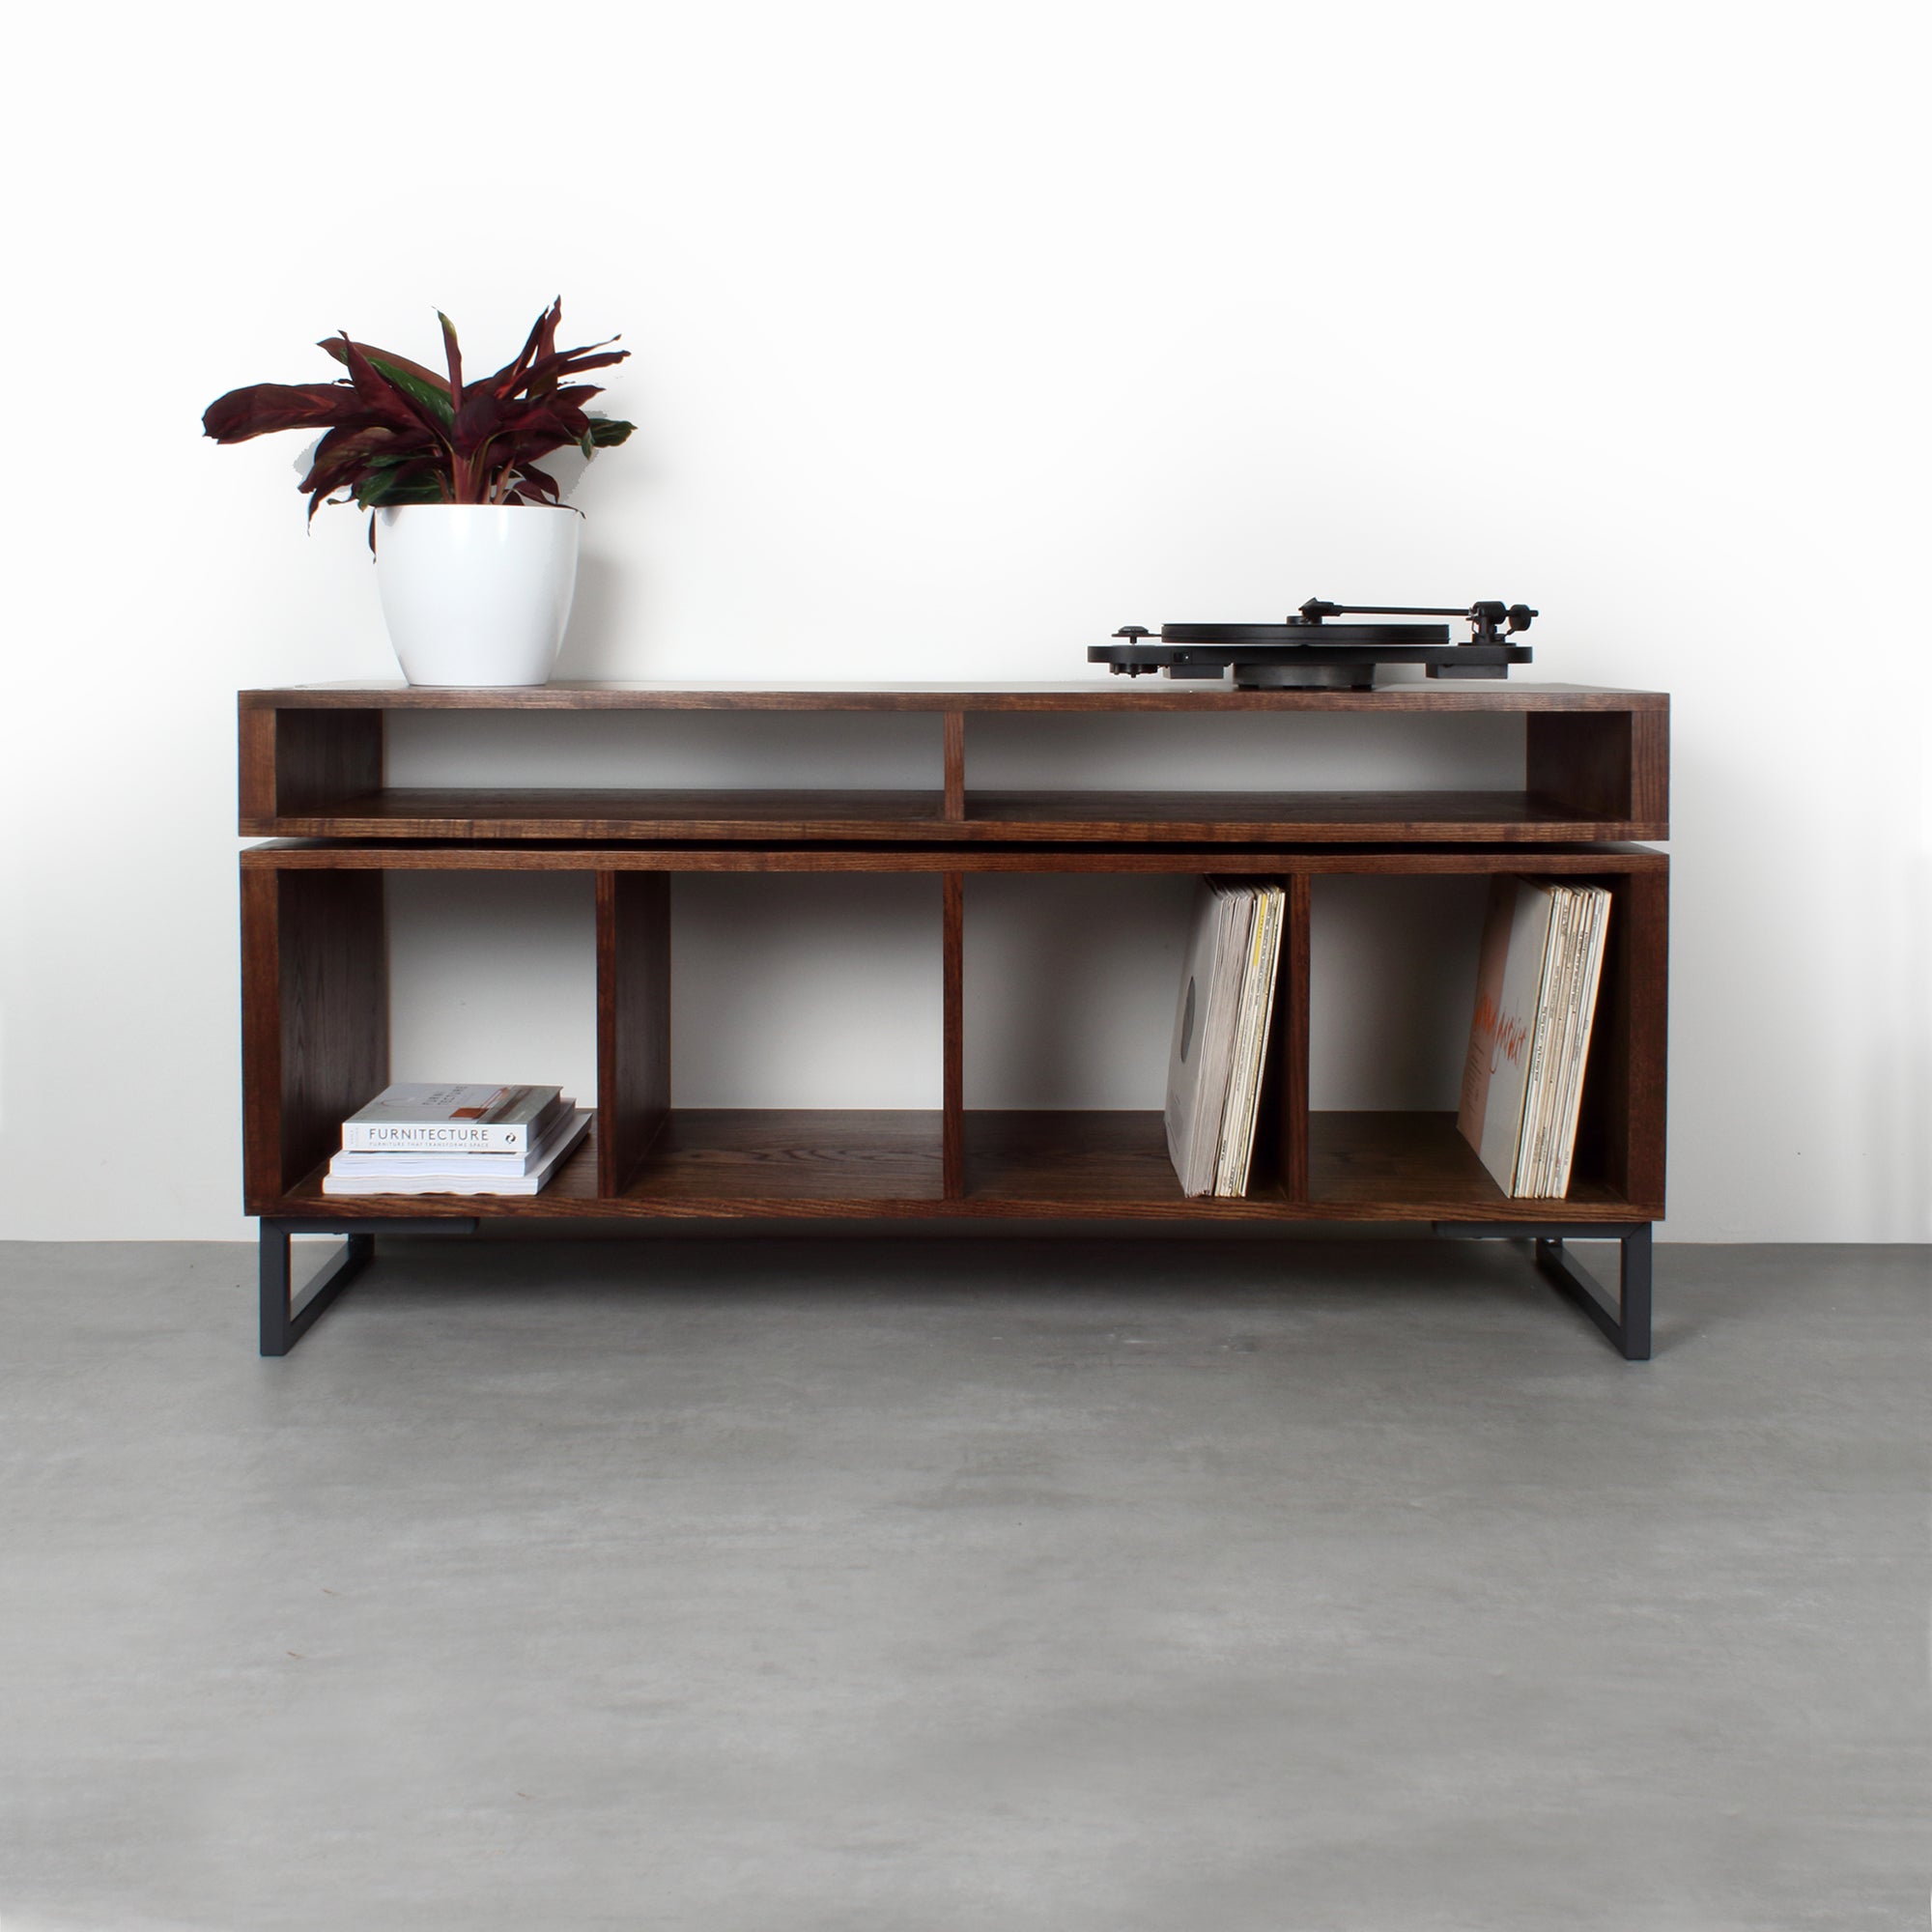
“The beauty of a modular unit like this is its versatility.”
A single 2×2 cube unit (about 30″ x 30″) is perfect for a small apartment living room or bedroom, providing storage for around 200 records without taking up much floor space. For a larger collection or a bigger room, you can place two of these units side-by-side to create a long, low credenza. This expanded setup (around 60″ long) works perfectly under a window or a large piece of art, defining a zone for music in a multi-purpose space.
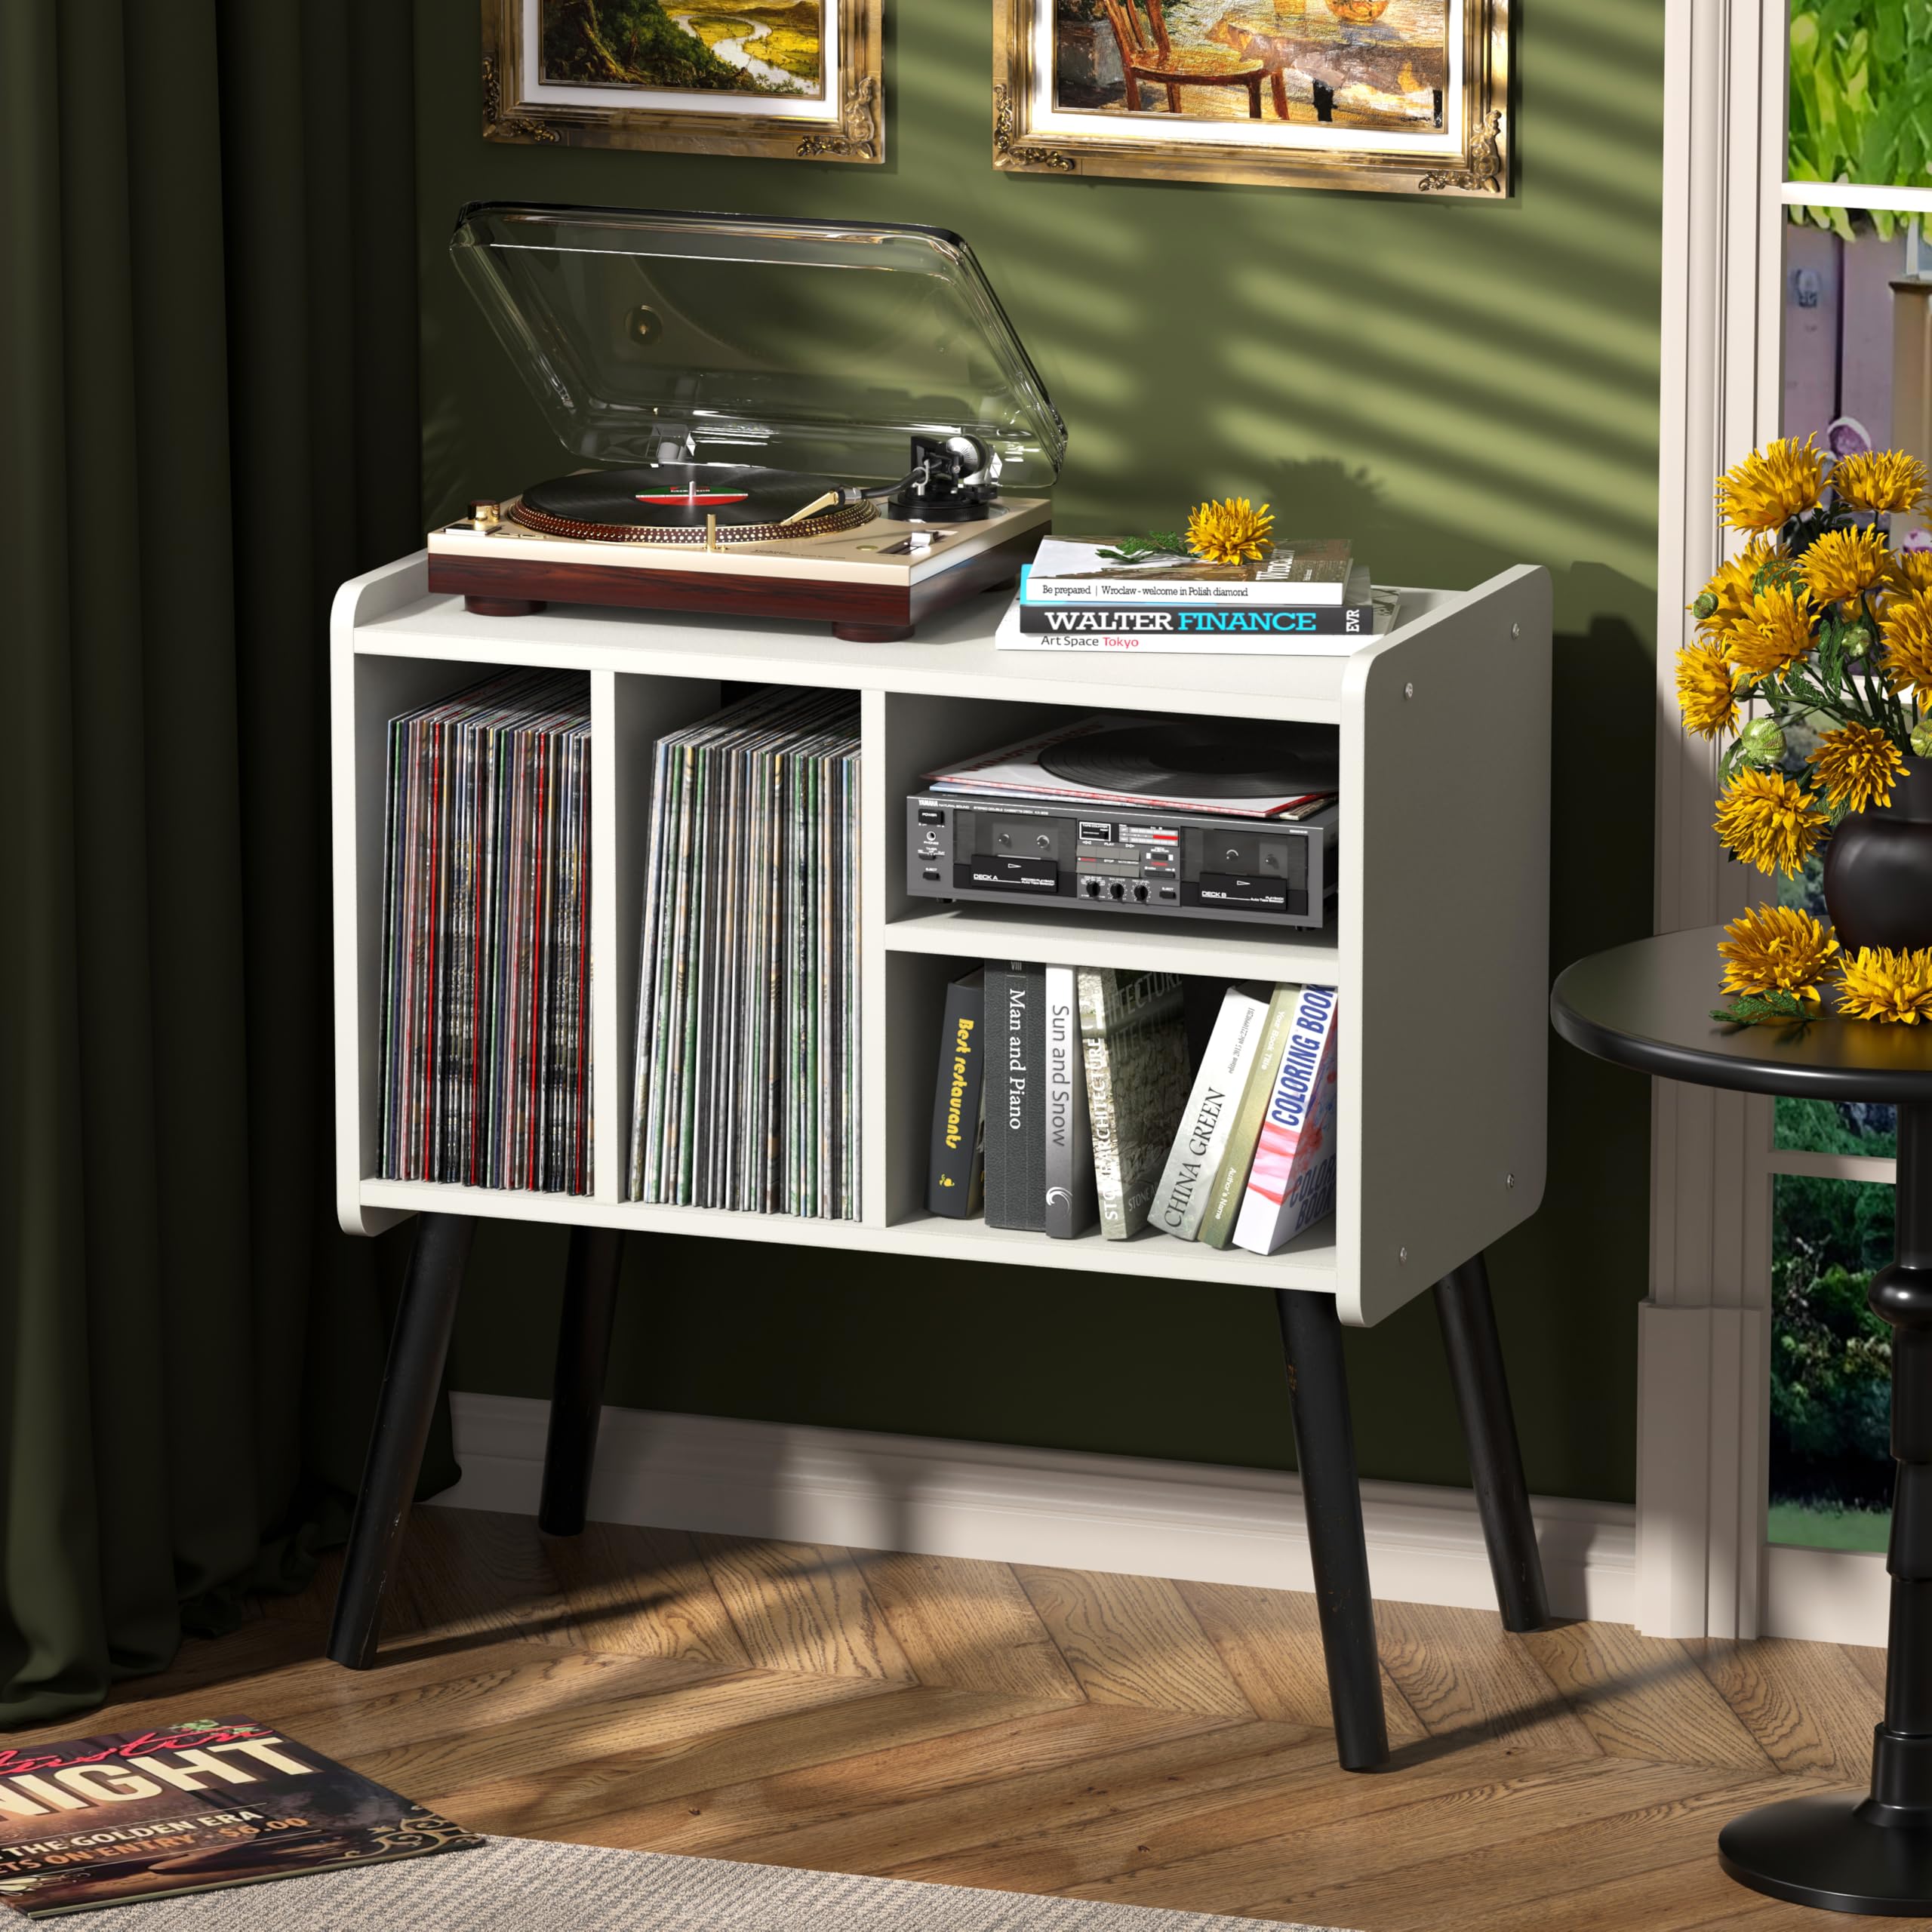
11. Mid-Century Revived: White Console on a Dark Green Wall
This entire scene is a masterclass in contrast. The crisp, clean white of the mid-century modern console pops dramatically against the deep, moody green of the wall. This high-contrast pairing creates instant visual energy. The design further succeeds by mixing geometrics: the sharp, rectangular lines of the console are softened by the ornate, curved gold frames of the artwork and complemented by the classic herringbone pattern of the wood floor. It feels layered and intentional, not like a showroom. See how this compares to the monochromatic take in Idea #22.
“When you have a beautiful piece of furniture against a bold accent wall, give it some space.”
Don’t push the console flush against the wall. Pulling it out just two or three inches does two magical things. First, it creates a ‘shadow line’ that makes both the wall and the furniture feel more substantial and distinct. Second, it gives you a hidden channel to easily run and manage your power and speaker cables, keeping the visible surfaces clean and uncluttered. It’s a small move that makes a huge difference.
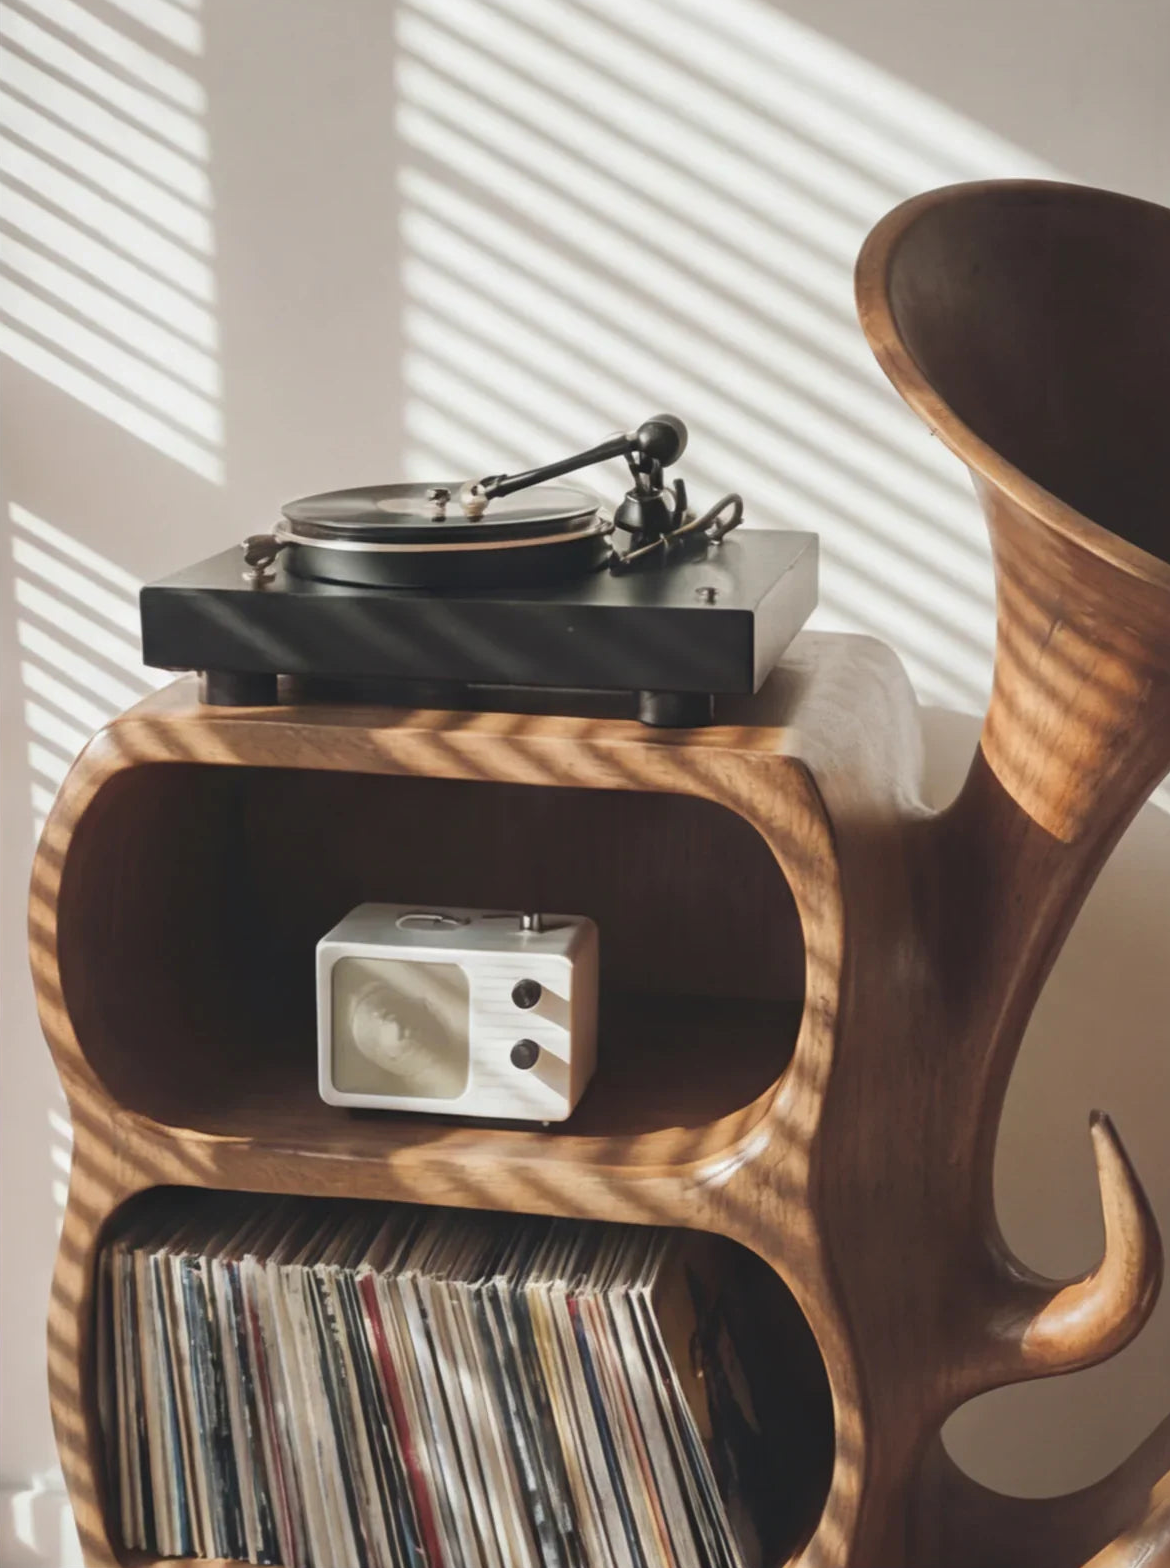
12. The Audiophile’s Sculpture: Carved Wood Console with a Horn Speaker
The undeniable focal point here is the magnificent, oversized wooden horn speaker. It’s a piece of equipment so sculptural and beautiful that it transcends its function and becomes art. The way it curves and integrates with the console makes the entire setup feel like a single, bespoke creation. Without the horn, you’d have a very nice record stand. With it, you have a jaw-dropping statement piece that communicates a deep passion for both design and high-fidelity sound. It’s a testament to how audio gear can be the most beautiful object in a room.
“We’re seeing a huge trend towards ‘acoustic art’—audio equipment that is designed to be seen and celebrated, not hidden.”
For decades, the goal was to make speakers disappear into the decor. Now, designers and homeowners are embracing them as sculptural elements. This shift reflects a desire for our technology to be more organic, tactile, and integrated into our lives in a beautiful way. A setup like this isn’t just for listening to music; it’s a piece of an intentionally designed, sensory-rich environment.
13. Sunlit and Eclectic: A Cozy Corner with Mixed Wooden Tones
Eclectic style can feel intimidating, but it’s really just a balancing act. The formula here is about 50% warm wood tones + 30% creamy neutrals + 20% lush greenery and personal objects. The key is that the wood tones don’t have to match! The light wood of the shelves, the medium tone of the speaker, and the darker wood of the floor all coexist happily because they are unified by the warm, creamy white of the cabinet and wall. The plants and records provide pops of color and personality, making the space feel lived-in and loved.
“An eclectic, layered corner like this is beautiful, but it walks a fine line between ‘curated’ and ‘cluttered.’ The key to keeping it on the right side of that line is ruthless editing and regular tidying.”
This is not a ‘set it and forget it’ style. It requires discipline. Dust from the plants will fall, record jackets will get left out, and surfaces can quickly become a drop-zone for mail and keys. To maintain this cozy, inviting vibe, you have to commit to a 5-minute tidy-up every few days to put things back in their place.
14. The Dedicated Listener’s Walnut Cabinet and Amp Shelf
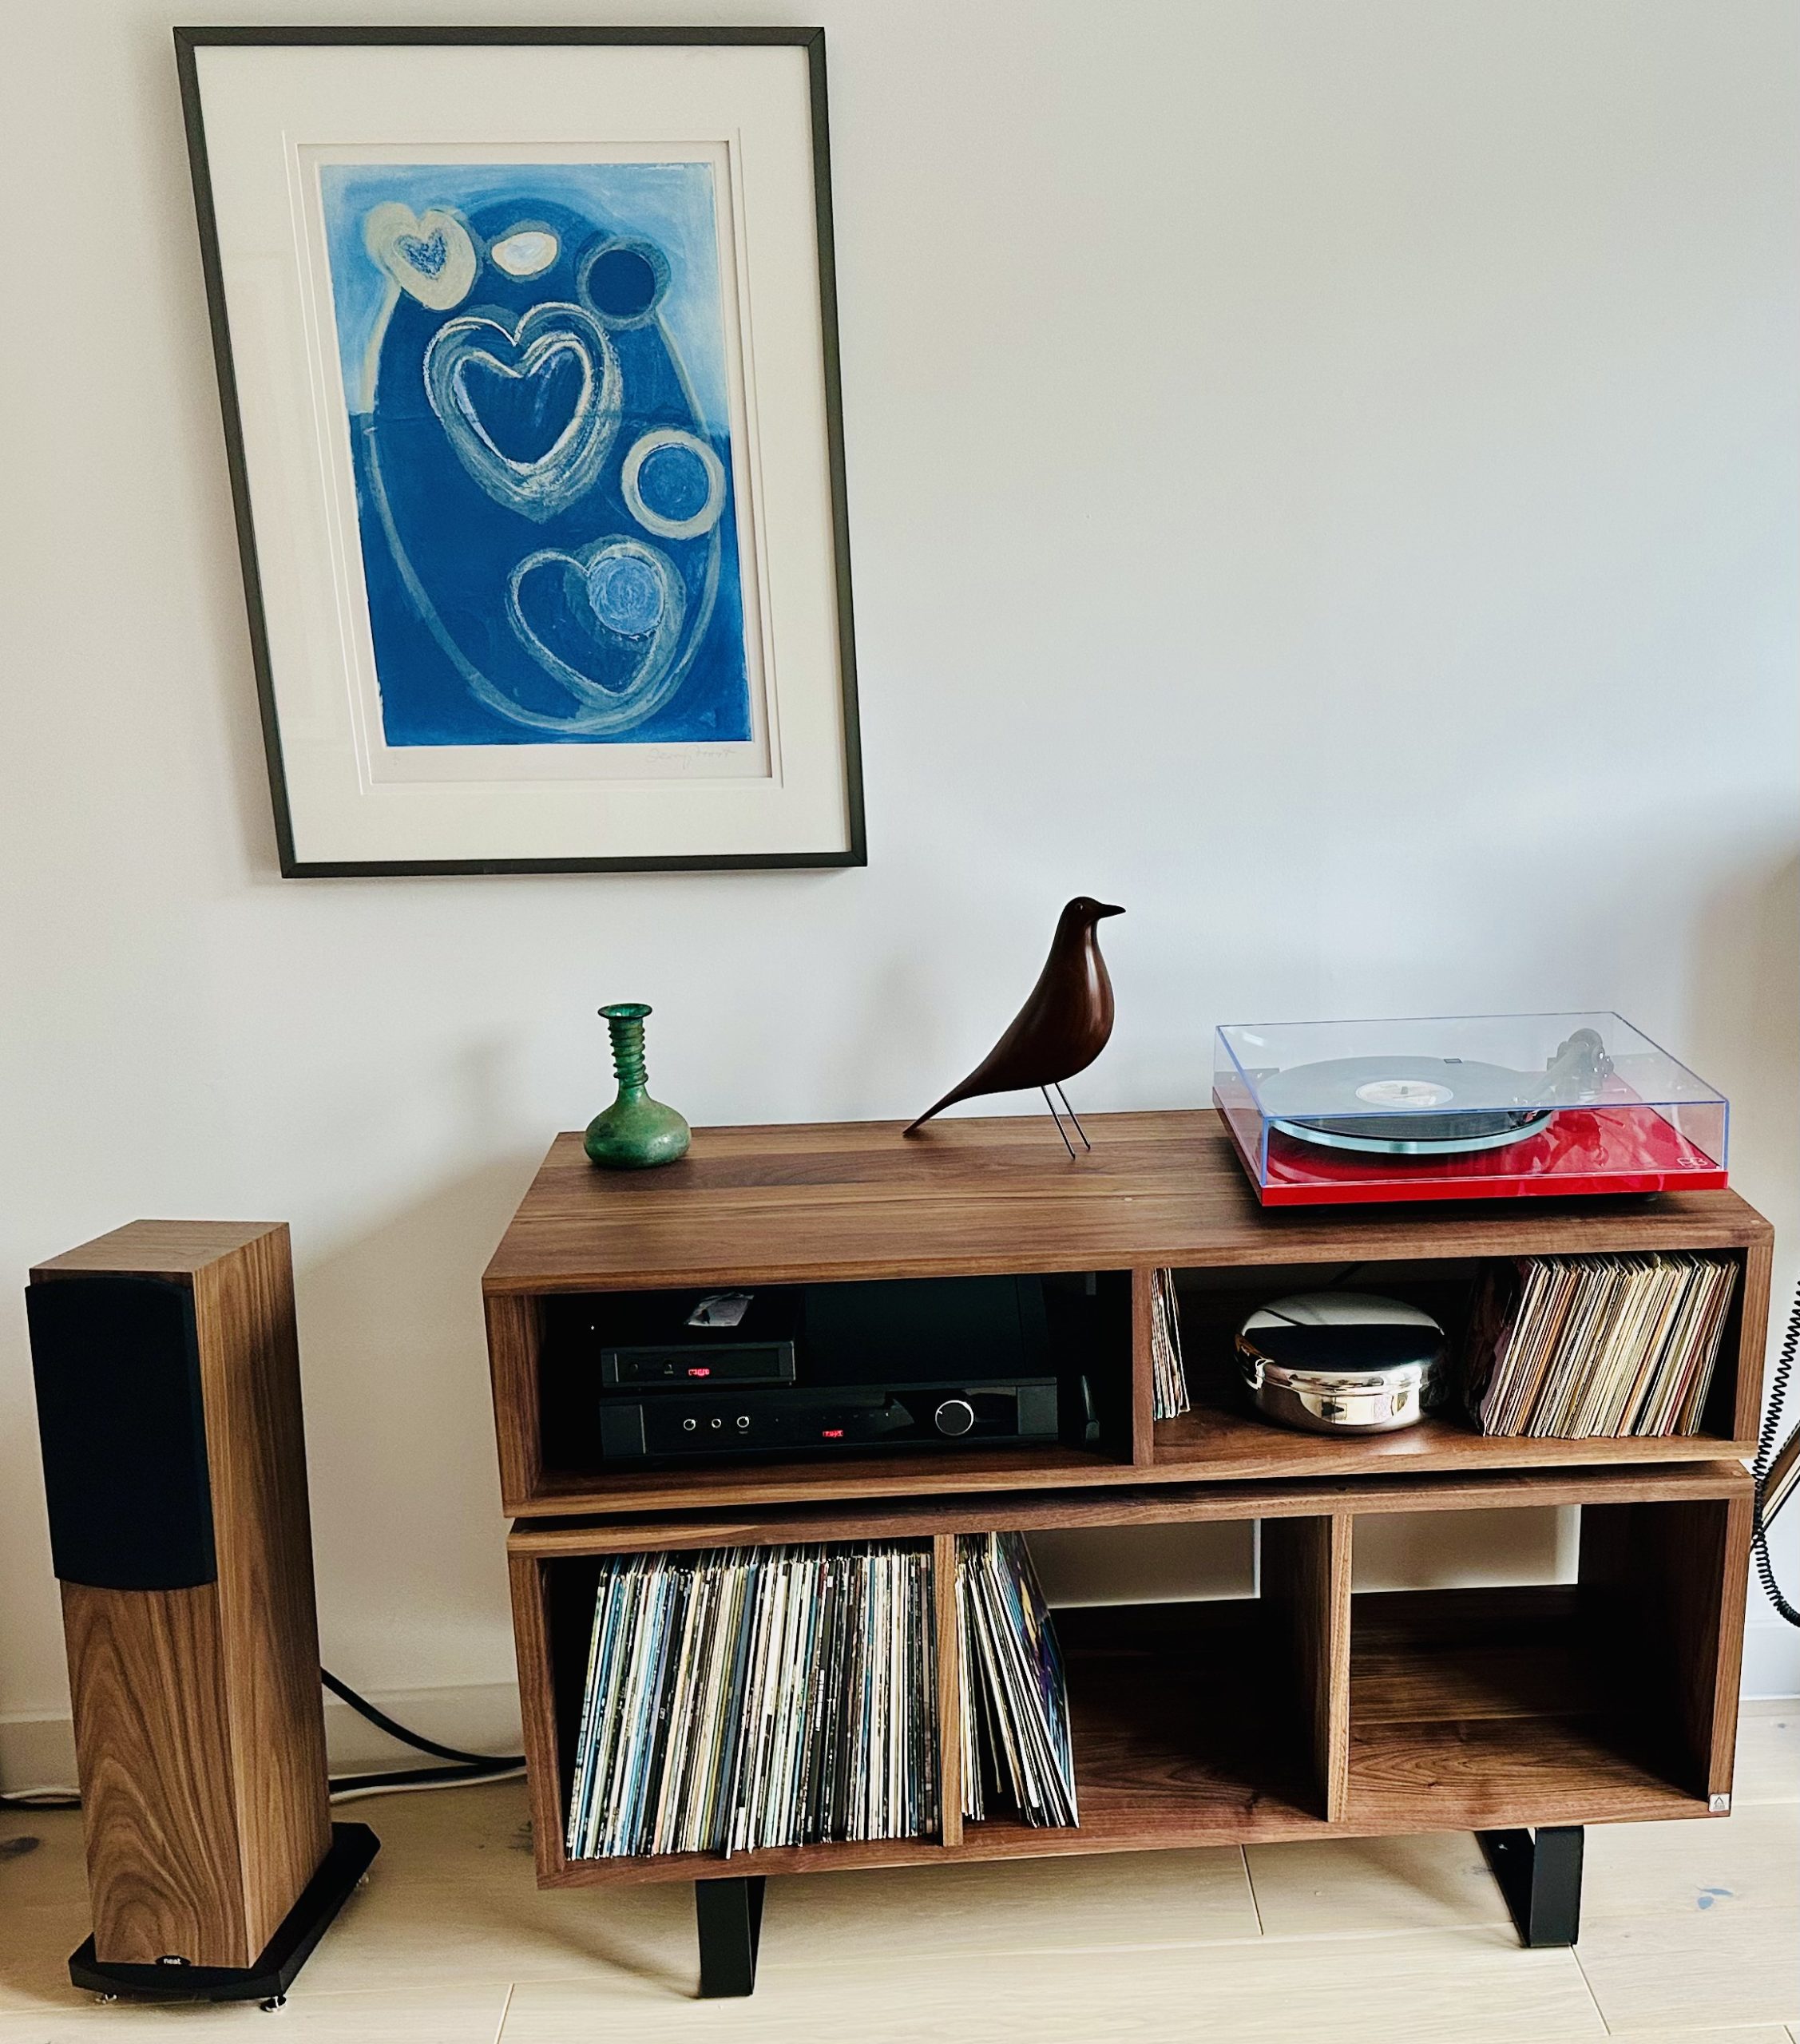
A dedicated cabinet with an integrated amplifier shelf is a sign of a serious listener. This style of furniture is typically designed with specific dimensions in mind. The main unit is often 30-40 inches wide, perfect for a standard living room wall. However, the critical dimension is depth. A standard record cabinet might be 15-16 inches deep, but one designed to hold an amplifier needs to be at least 18-22 inches deep to accommodate the unit and allow for proper ventilation and cable management behind it. Always measure your amp before buying the furniture.
“Before investing in a specialized piece like a vinyl cabinet with an amp shelf, run through this quick checklist.”
1. Measure your largest amplifier or receiver—will it fit, especially in depth? 2. Check the ventilation. Does the shelf or compartment have an open back or sides to allow heat to escape? Overheating can shorten the life of your equipment. 3. Plan for access. How easy will it be to get behind the unit to connect or disconnect cables? A unit that’s too heavy to move easily can be a real pain.
15. The All-in-One Office: Sage Green L-Shaped Record Storage
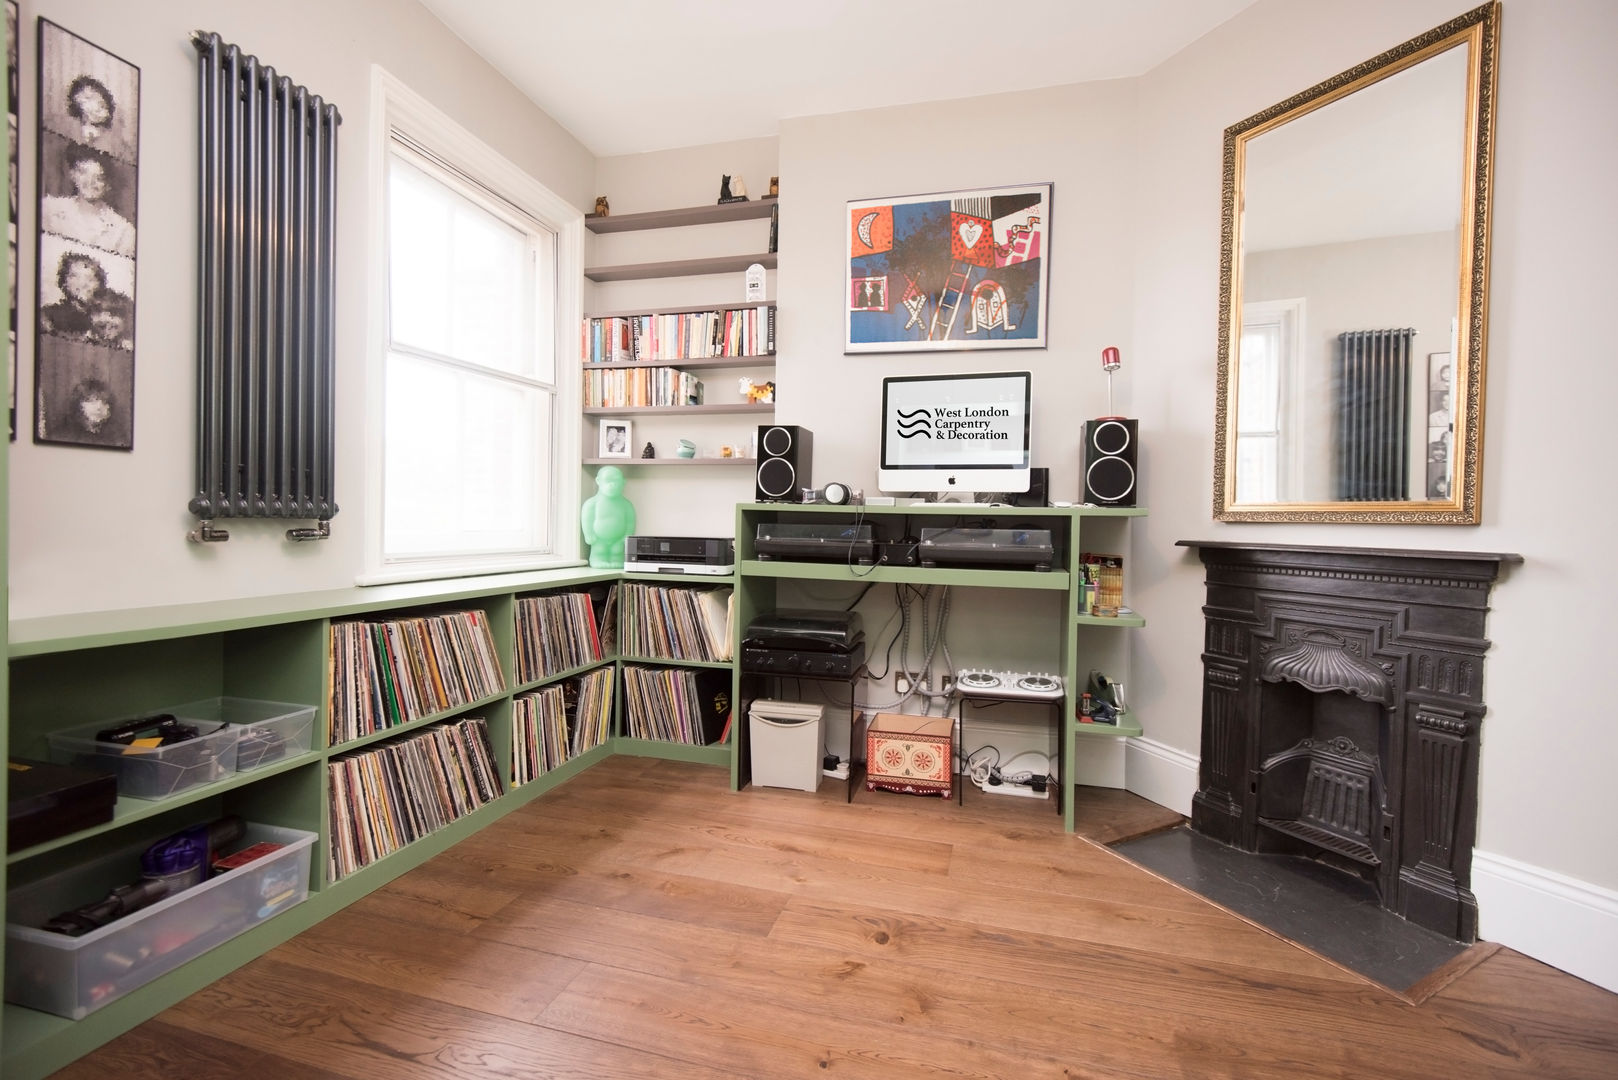
A custom built-in that wraps around a corner is a dream, but it requires careful planning. Here’s a mini-brief for planning your own: 1. Measure Everything Twice: Get the exact length of both walls, and note the locations of outlets, windows, and any architectural features like a fireplace. 2. Define Your Zones: Decide which part of the ‘L’ is for work (desk), which is for media (TV/speakers), and which is for storage (records). 3. Prototype with Tape: Use painter’s tape on the floor and walls to mark out the depth and height of the unit. Live with it for a few days to see how the footprint feels. 4. Get Multiple Quotes: Talk to at least three different custom cabinet makers or carpenters to compare costs and ideas.
“This kind of large-scale, custom project is a major commitment.”
Don’t even start calling contractors until you’ve checked these boxes. It’s a fantastic solution, much like the grand library in Idea #1, but for a more modern, multi-purpose room.
- Budget Confirmed: Do you have a realistic budget set aside? Custom built-ins of this scale can range from $5,000 to $15,000+.
- Long-Term Plan: Are you planning to stay in this home for at least 5-7 years? This is a permanent installation that becomes part of the house.
- Collection Size: Have you measured your current record collection and planned for at least 50% growth? You only want to do this once.
16. A Streamlined Vinyl Record Storage Unit for the Modern Collector
When you have a large, uniform collection to store, the best thing you can do is let the records themselves be the star. Choose a storage unit with a simple, clean-lined design and a neutral finish, like a dark walnut or simple black. The visual interest will come from the colorful spines of the album covers. Avoid ornate or overly detailed furniture that will compete for attention. The goal is to create a quiet, organized framework that allows the collection to become a beautiful, textured tapestry.
“For open-shelf units like this, dust is your primary enemy.”
Vinyl records are statically charged and attract dust, which can get into the grooves and affect playback. To minimize this, you should ideally be dusting the tops of the records with a soft brush or microfiber duster every 1-2 weeks. For a deeper clean every few months, use a vacuum with a soft brush attachment to gently go over the record spines and the shelves themselves. Storing records in high-quality plastic outer sleeves will also significantly cut down on jacket wear and dust accumulation.
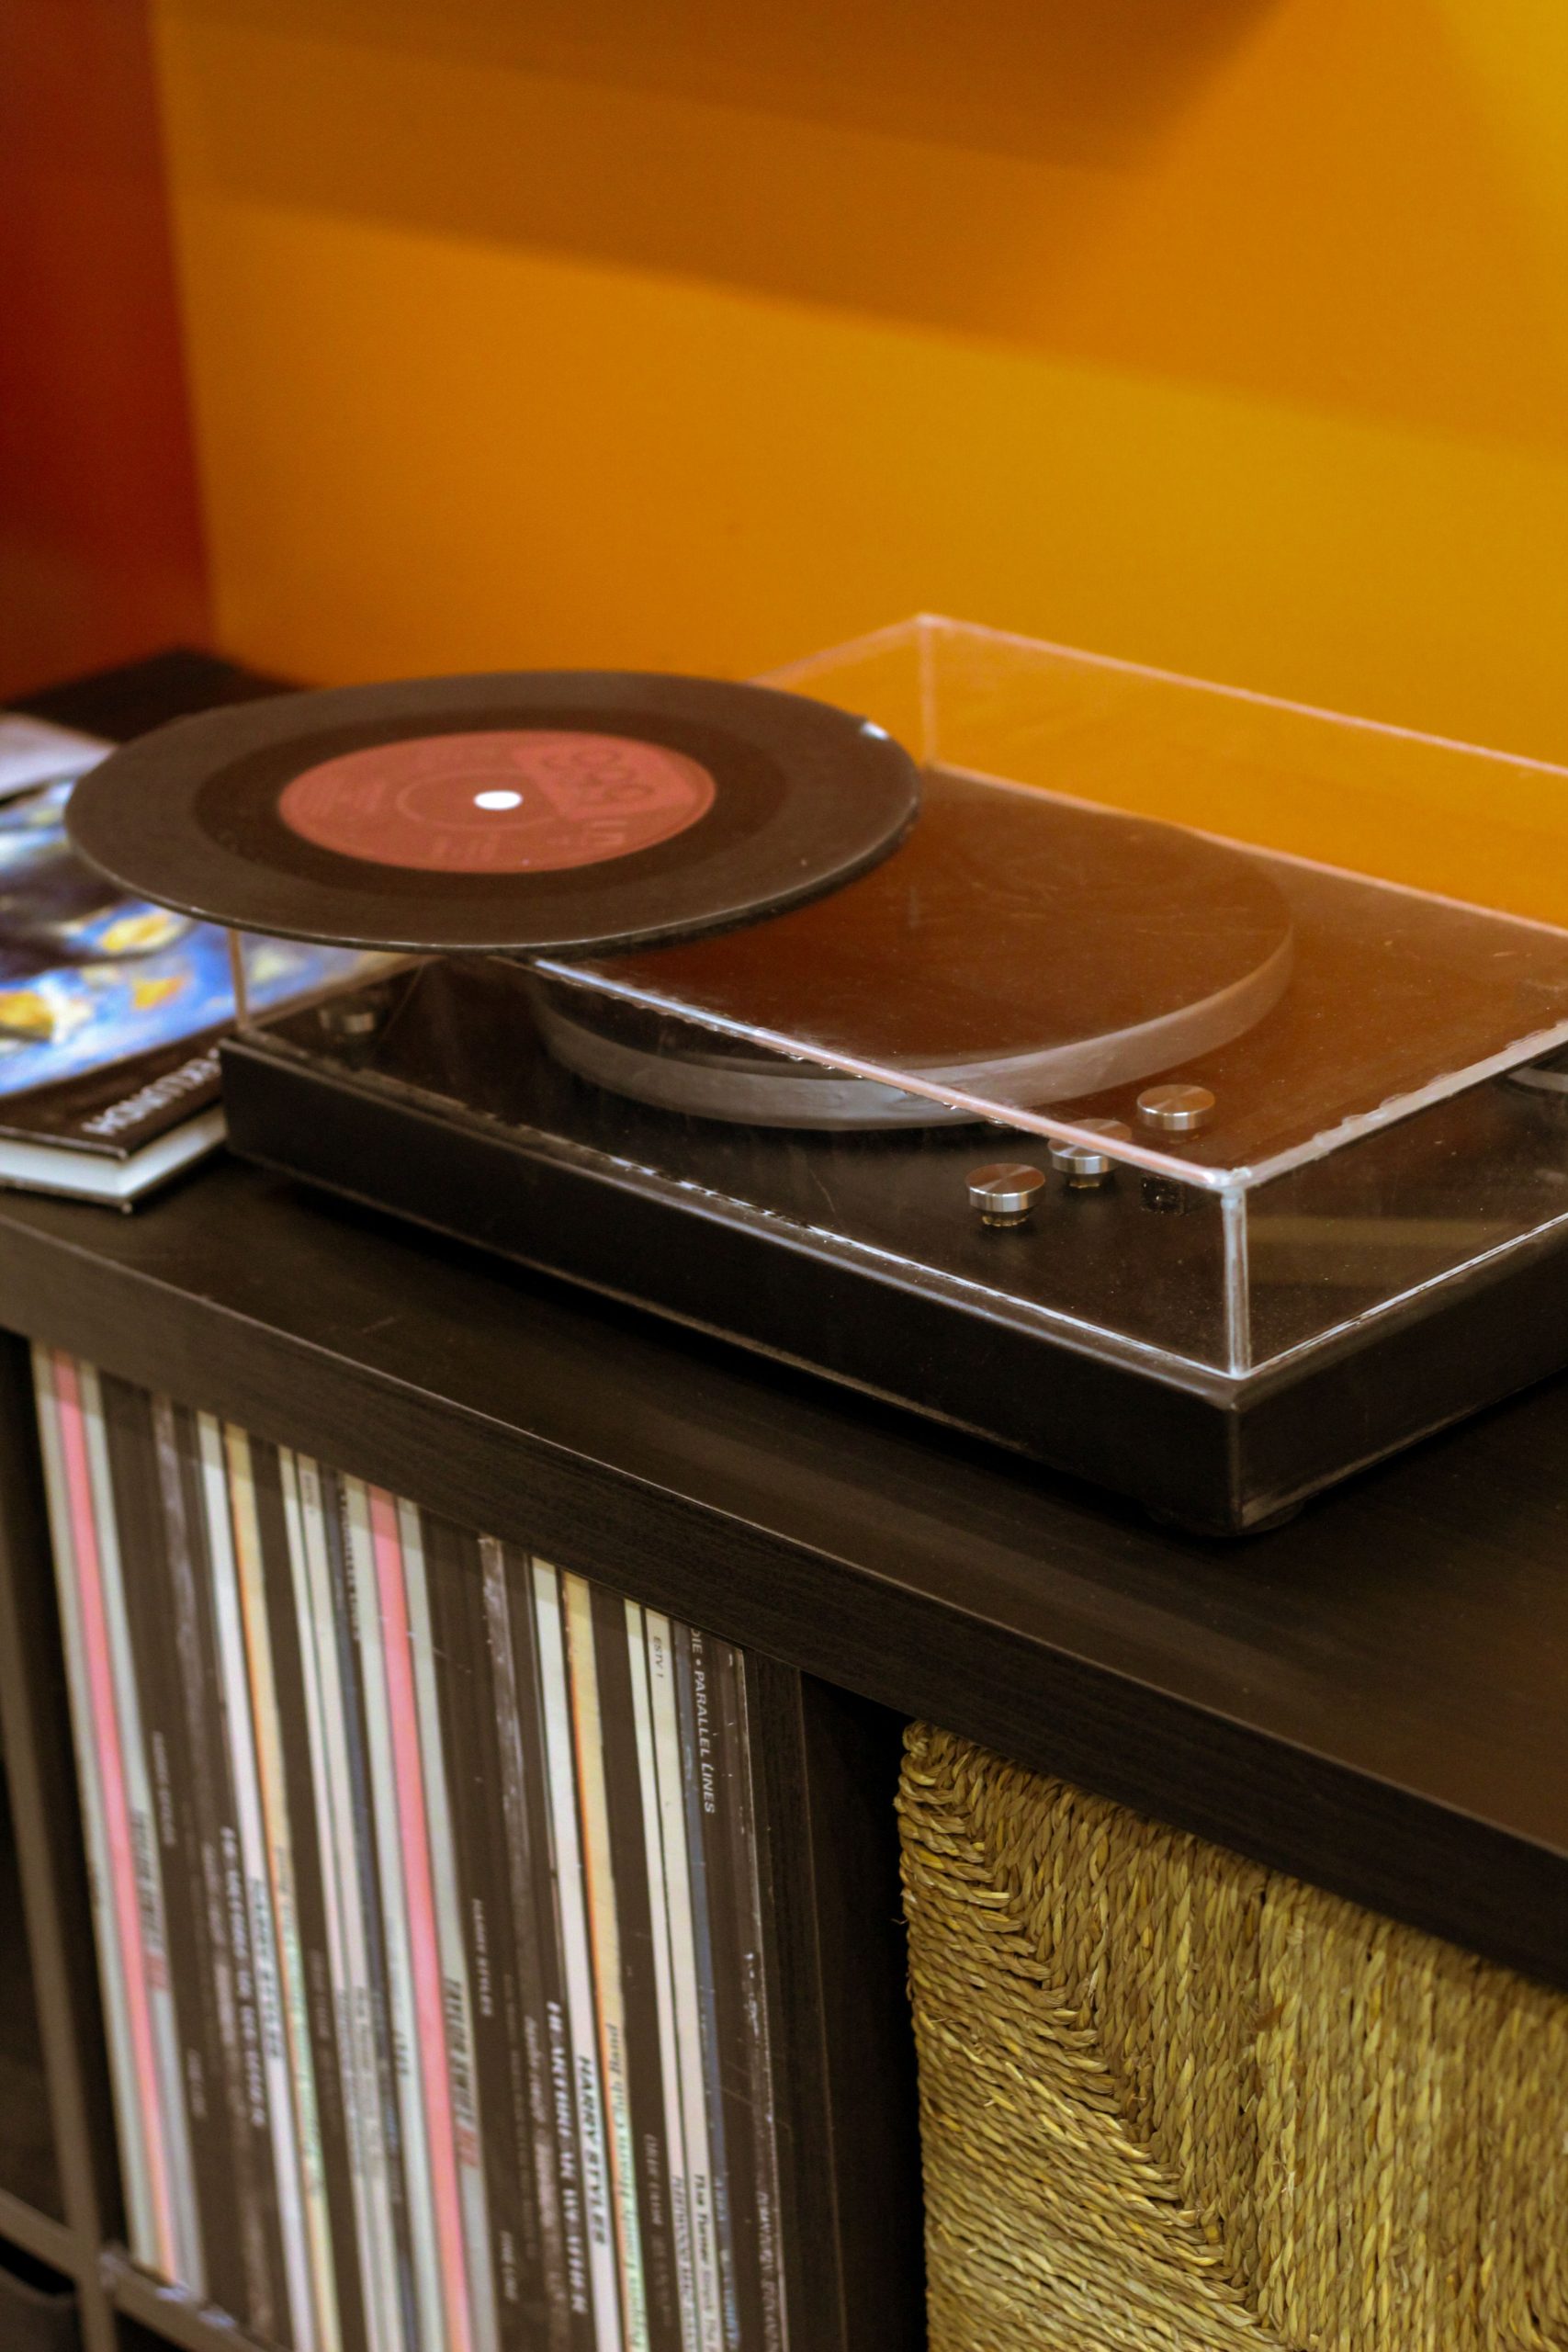
17. Bright and Bold: A Compact Black Shelf Against an Orange Wall
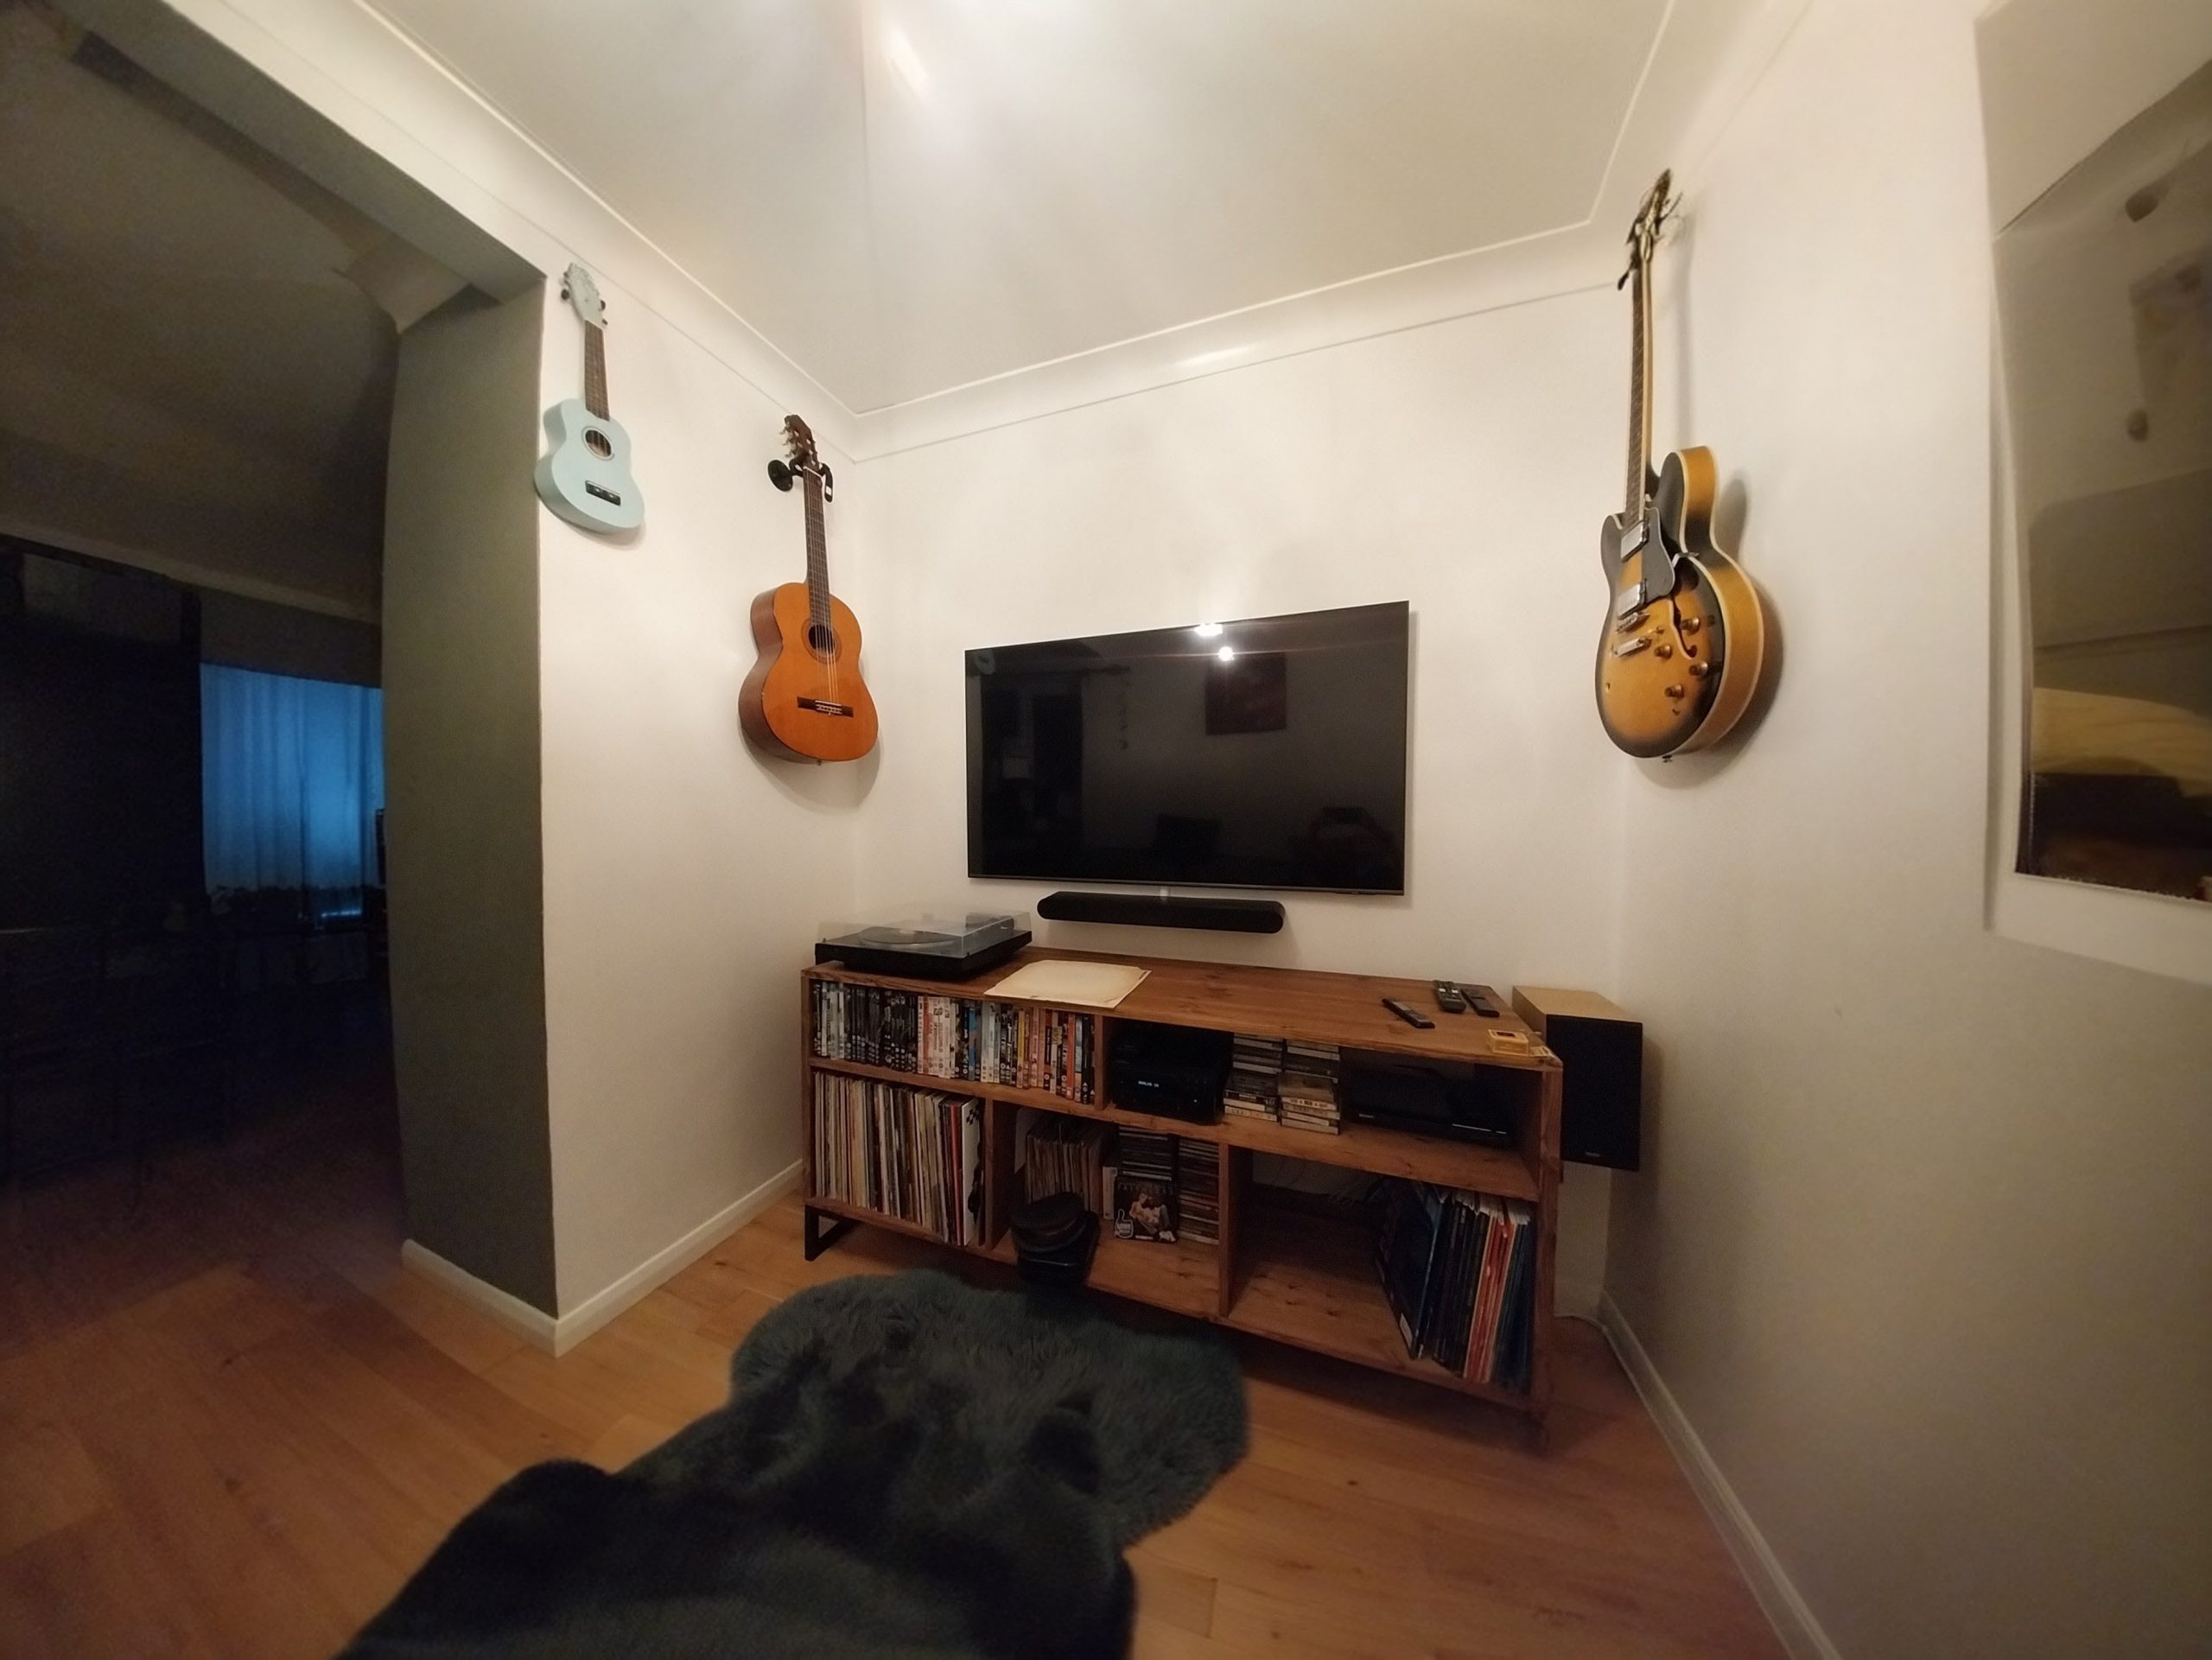
This vibrant look proves you don’t need a huge budget to make a big impact. The core of this setup is a simple, multi-shelf unit, which you can find at stores like Target or Walmart for under $75. The real star, however, is the can of paint. A quart of a bold, saturated color like this vibrant orange might cost $20-$30. For just over $100, you can completely transform a bland corner into a dynamic and personality-filled music nook. The woven basket is another great budget-friendly touch, adding texture and warmth for less than $20.
“This setup works because of its brilliant use of color theory.”
The black shelf and turntable are neutral; they would work against any color. However, placing them against a hot, energetic color like orange creates an incredibly dynamic contrast. Black absorbs light, while the orange reflects it, making the black appear deeper and the orange seem even more vibrant. It’s a simple but powerful designer trick to create a focal point in a room without spending a lot of money. It’s a high-energy, look-at-me statement.
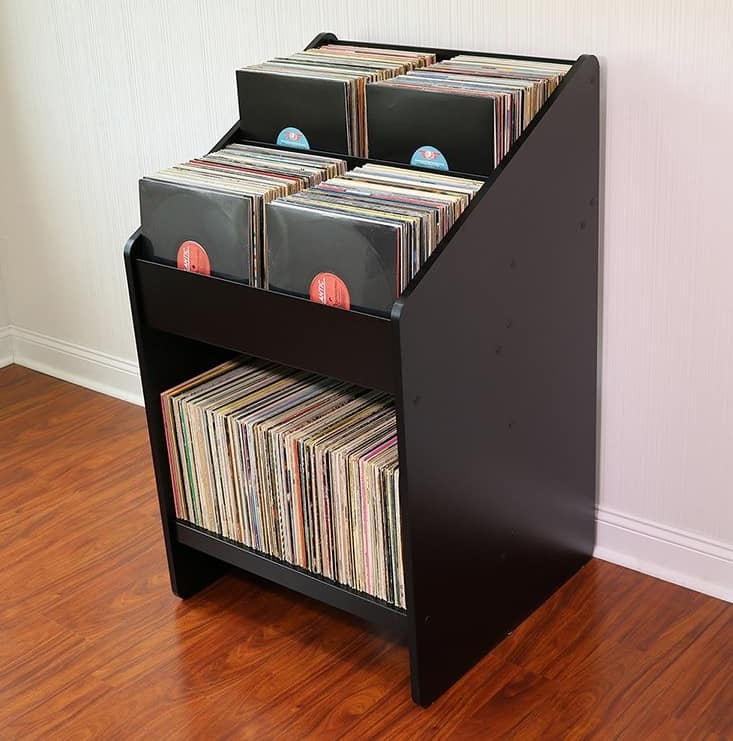
18. A Classic Tiered Wooden Stand for Vertical Record Display
The single most important feature of this stand is the angled top tiers. Unlike a standard bookcase where you only see the spines, this design allows you to display the cover art of your favorite or most-played records. This transforms the storage from purely functional to decorative and interactive. It’s a simple but brilliant modification that celebrates the visual culture of vinyl, turning the records themselves into a rotating art display. It’s an invitation to flip through and discover, just like in a real record store.
“A tall, narrow display stand like this is a fantastic space-saver.”
It’s perfect for smaller rooms or apartments where floor space is at a premium. Typically measuring only 18-24 inches wide and about 15 inches deep, it can tuck neatly into an unused corner or sit beside a chair without dominating the room. It needs a ceiling height of at least 8 feet to accommodate its verticality. This is an ideal solution for a collection of 100-200 records, offering a balance of storage and display in a compact footprint.
19. An Industrial-Style Cabinet with Wood, Metal, and Brick
This industrial look is surprisingly achievable and can be sourced from a variety of places. The key is in the mix of materials, which gives it that handsome, workshop-inspired feel.
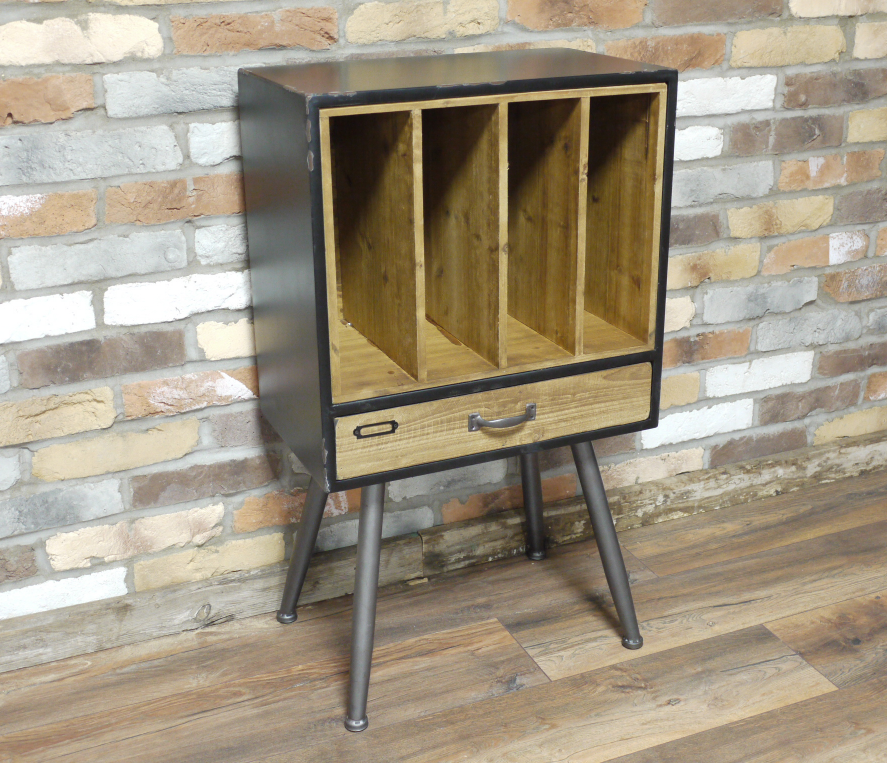
“Industrial Cabinet: $250 – $600 (Look at Wayfair, Overstock, or specialty sites ”
- Industrial Cabinet: $250 – $600 (Look at Wayfair, Overstock, or specialty sites like Crate & Barrel’s CB2)
- Faux Brick Paneling: $8 – $15 per square foot (A more affordable option than real brick)
- Wood Flooring: $5 – $12 per square foot
- TOTAL FOR THE VIGNETTE (in a 6’x8′ area): $600 – $1,500
- Budget alternative: Find a used metal locker or small filing cabinet on Facebook Marketplace for under $100 and pair it with a single sheet of brick paneling from a home improvement store.
The success of the industrial aesthetic hinges on texture. Here, you have three distinct textures working in harmony. The rough, variegated surface of the brick wall provides a rustic, historical backdrop. The smooth, natural grain of the wooden compartments and drawer adds warmth. Finally, the cool, matte finish of the black metal frame and legs provides a sharp, graphic outline that pulls it all together. It’s this trio of rough, warm, and sharp textures that makes the look so compelling and visually rich.
20. An Illuminated Wall of Records for the Ultimate Collector
As collectors move away from just storing albums to actively displaying them as art, we’re seeing a rise in ‘gallery walls’ for vinyl. Integrated lighting is the next evolution of this trend. Low-profile LED strips installed into custom shelving create a dramatic, museum-like effect that makes the collection glow. This is driven by a desire to create immersive, atmospheric spaces at home, turning a simple wall of records into a true environmental feature that sets a mood for the entire room. It’s the ultimate expression of vinyl as a visual medium.
“Creating a lit wall of records is a high-impact look, but it’s not a simple weekend project.”
This is often a custom carpentry job requiring electrical work. The cost for custom-built, lit shelving can easily run into thousands of dollars ($200-$500 per linear foot is a reasonable estimate). Furthermore, while LED lights produce very little heat, you must ensure there is adequate ventilation. Finally, consider the visual ‘noise.’ A huge wall of illuminated album art is a very strong statement and can easily overwhelm a small or already busy room.
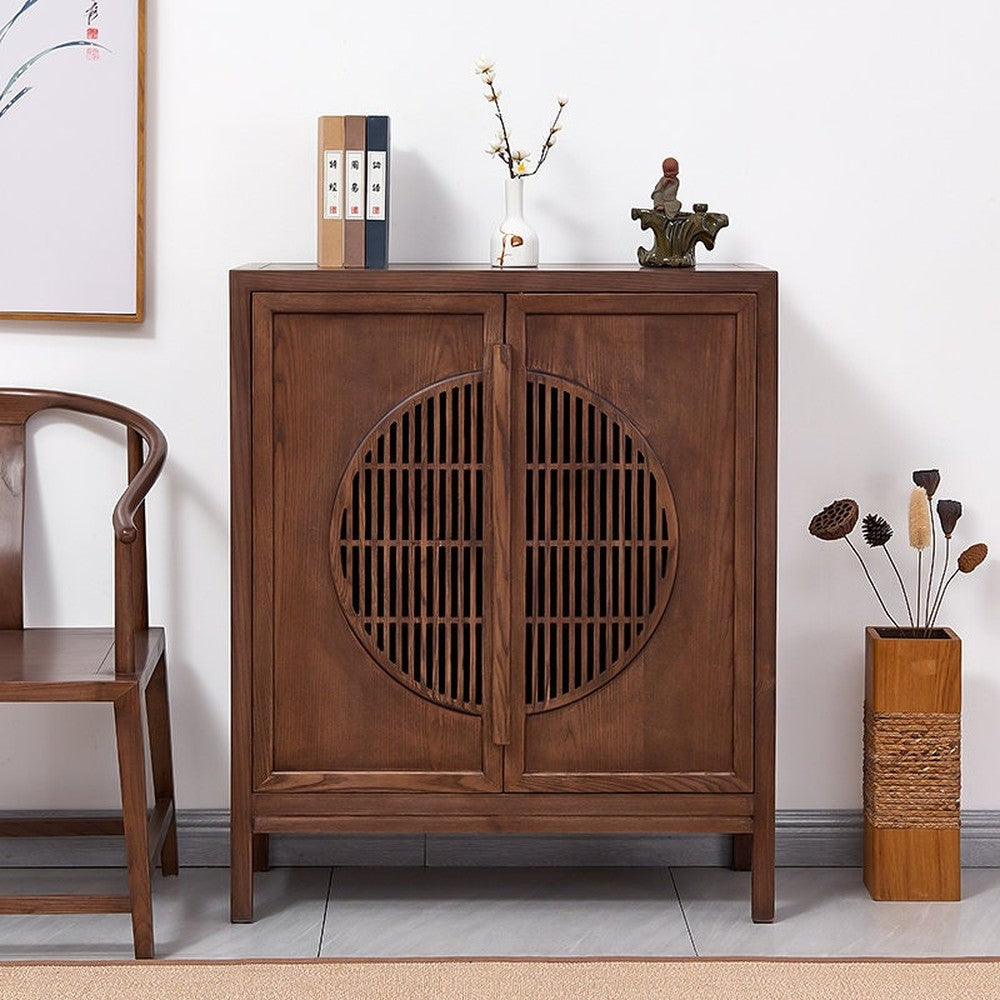
21. Serene Storage: A Dark Wood Cabinet with Circular Lattice Doors
A cabinet with intricate lattice or fretwork doors is stunning, but be prepared for the cleaning commitment. Those cutouts are a serious dust trap. A weekly pass with a feather duster or microfiber cloth is essential to prevent buildup. For a deeper clean every month or so, you’ll need the crevice tool on your vacuum cleaner or a can of compressed air to get into all the nooks and crannies. To protect your records inside from dust, consider adding a fabric lining to the inside of the doors or using high-quality plastic outer sleeves on all your albums.
“This design’s calming, Japandi-inspired aesthetic comes from a disciplined formula: 70% natural wood + 20% light, solid colors + 10% clean lines.”
The dark wood of the cabinet and accessories provides a rich, grounding base. The large expanse of the light gray wall and the white of the small vase create a quiet, neutral canvas. The magic comes from the clean, repeating lines—the circular lattice, the straight legs of the chair, the vertical reeds in the vase—which add structure and a sense of order to the serene composition.
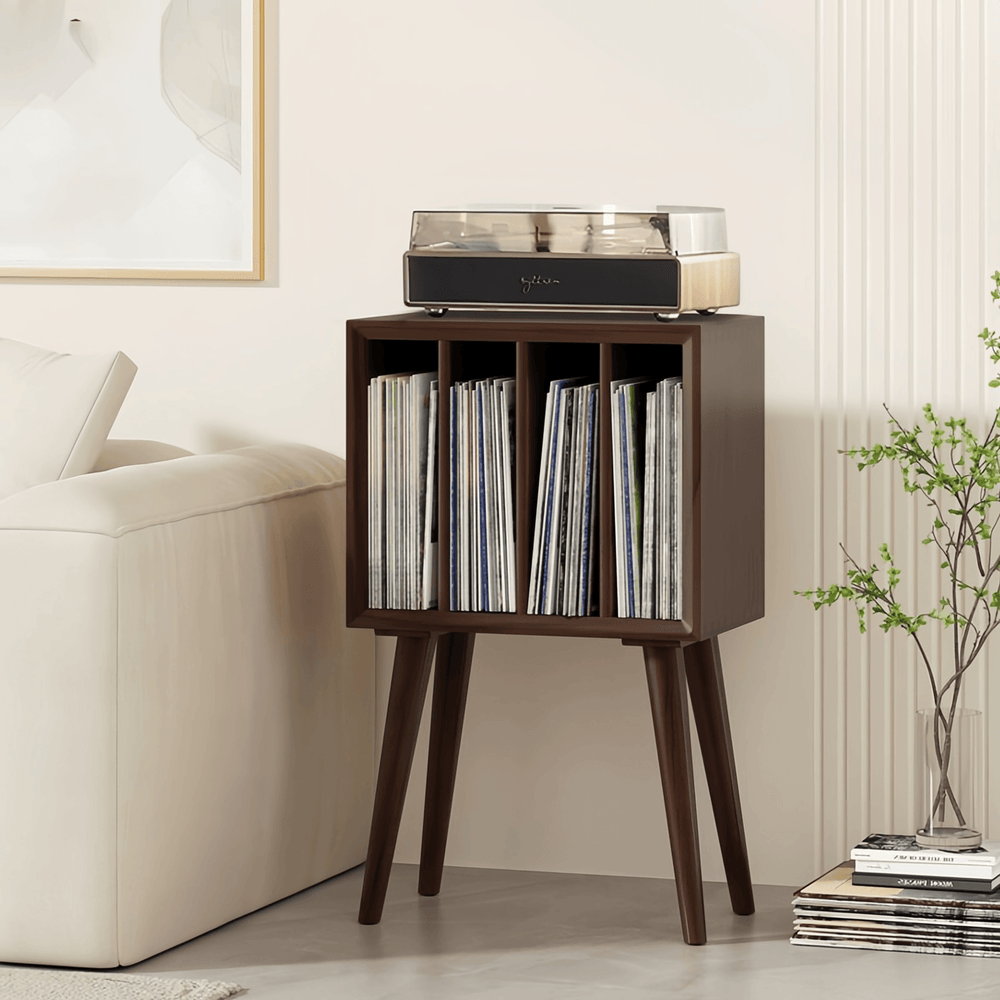
22. Tall and Slim: A Mid-Century Modern Vinyl Storage Cabinet
To make a tall furniture piece like this feel integrated and intentional, you need to create a visual ‘triangle’ with the surrounding decor. Notice how the top of the cabinet, the framed artwork, and the plant form the three points of a triangle. This arrangement guides the eye around the scene and connects the individual elements into a cohesive whole. Without the art and the plant, the cabinet might feel like it’s just floating awkwardly against the wall. This simple styling trick makes the entire corner feel complete and thoughtfully designed. Compare to the lower, wider version in Idea #11.
“The defining feature that makes this piece quintessentially mid-century modern is the angled, tapered legs.”
It’s the ‘one thing’ that instantly signals the design era. This specific leg style lifts the cabinet off the floor, creating a sense of lightness and airiness despite its height and dark wood construction. If this piece had a solid plinth base that went straight to the floor, it would feel much heavier, more traditional, and far less stylish. Those simple, elegant legs do all the work of giving it its iconic, retro-inspired personality.
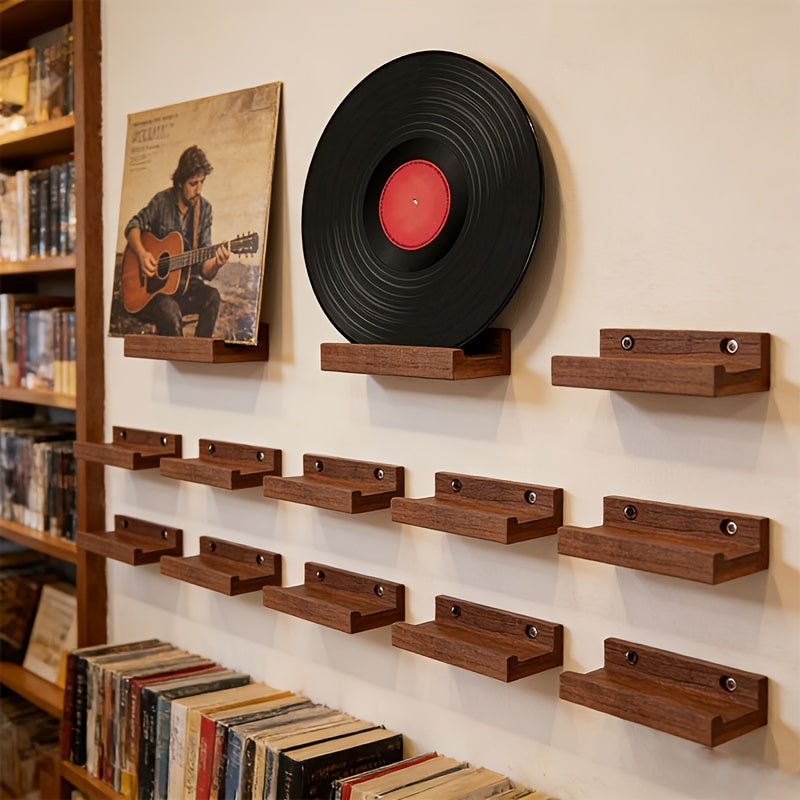
23. A ‘Now Playing’ Gallery with Individual Floating Wood Shelves
Mounting multiple small shelves requires precision. Here’s how to get it right: 1. Plan your layout on the floor first. Arrange the shelves until you find a composition you like. 2. Use a laser level. This is the only way to ensure perfect alignment, both horizontally and vertically. 3. Create a template. For each shelf, poke holes through a piece of paper where the screws go. Tape the paper template to the wall and drill through it. This avoids messy pencil marks. 4. Use proper anchors. Don’t rely on the cheap ones included; buy high-quality drywall anchors rated for at least 15 pounds to be safe.
“This ‘gallery’ approach is incredibly flexible and works in almost any size room.”
In a small space, you could use just three or four shelves in a tight grid over a turntable to create a compact, artistic focal point, similar to the setup in Idea #28. In a large room with a blank wall, you could expand this concept to dozens of shelves, creating a massive, evolving art installation of your favorite album covers. The key is to maintain consistent spacing between the shelves, typically 4-6 inches, to create a sense of order and rhythm.
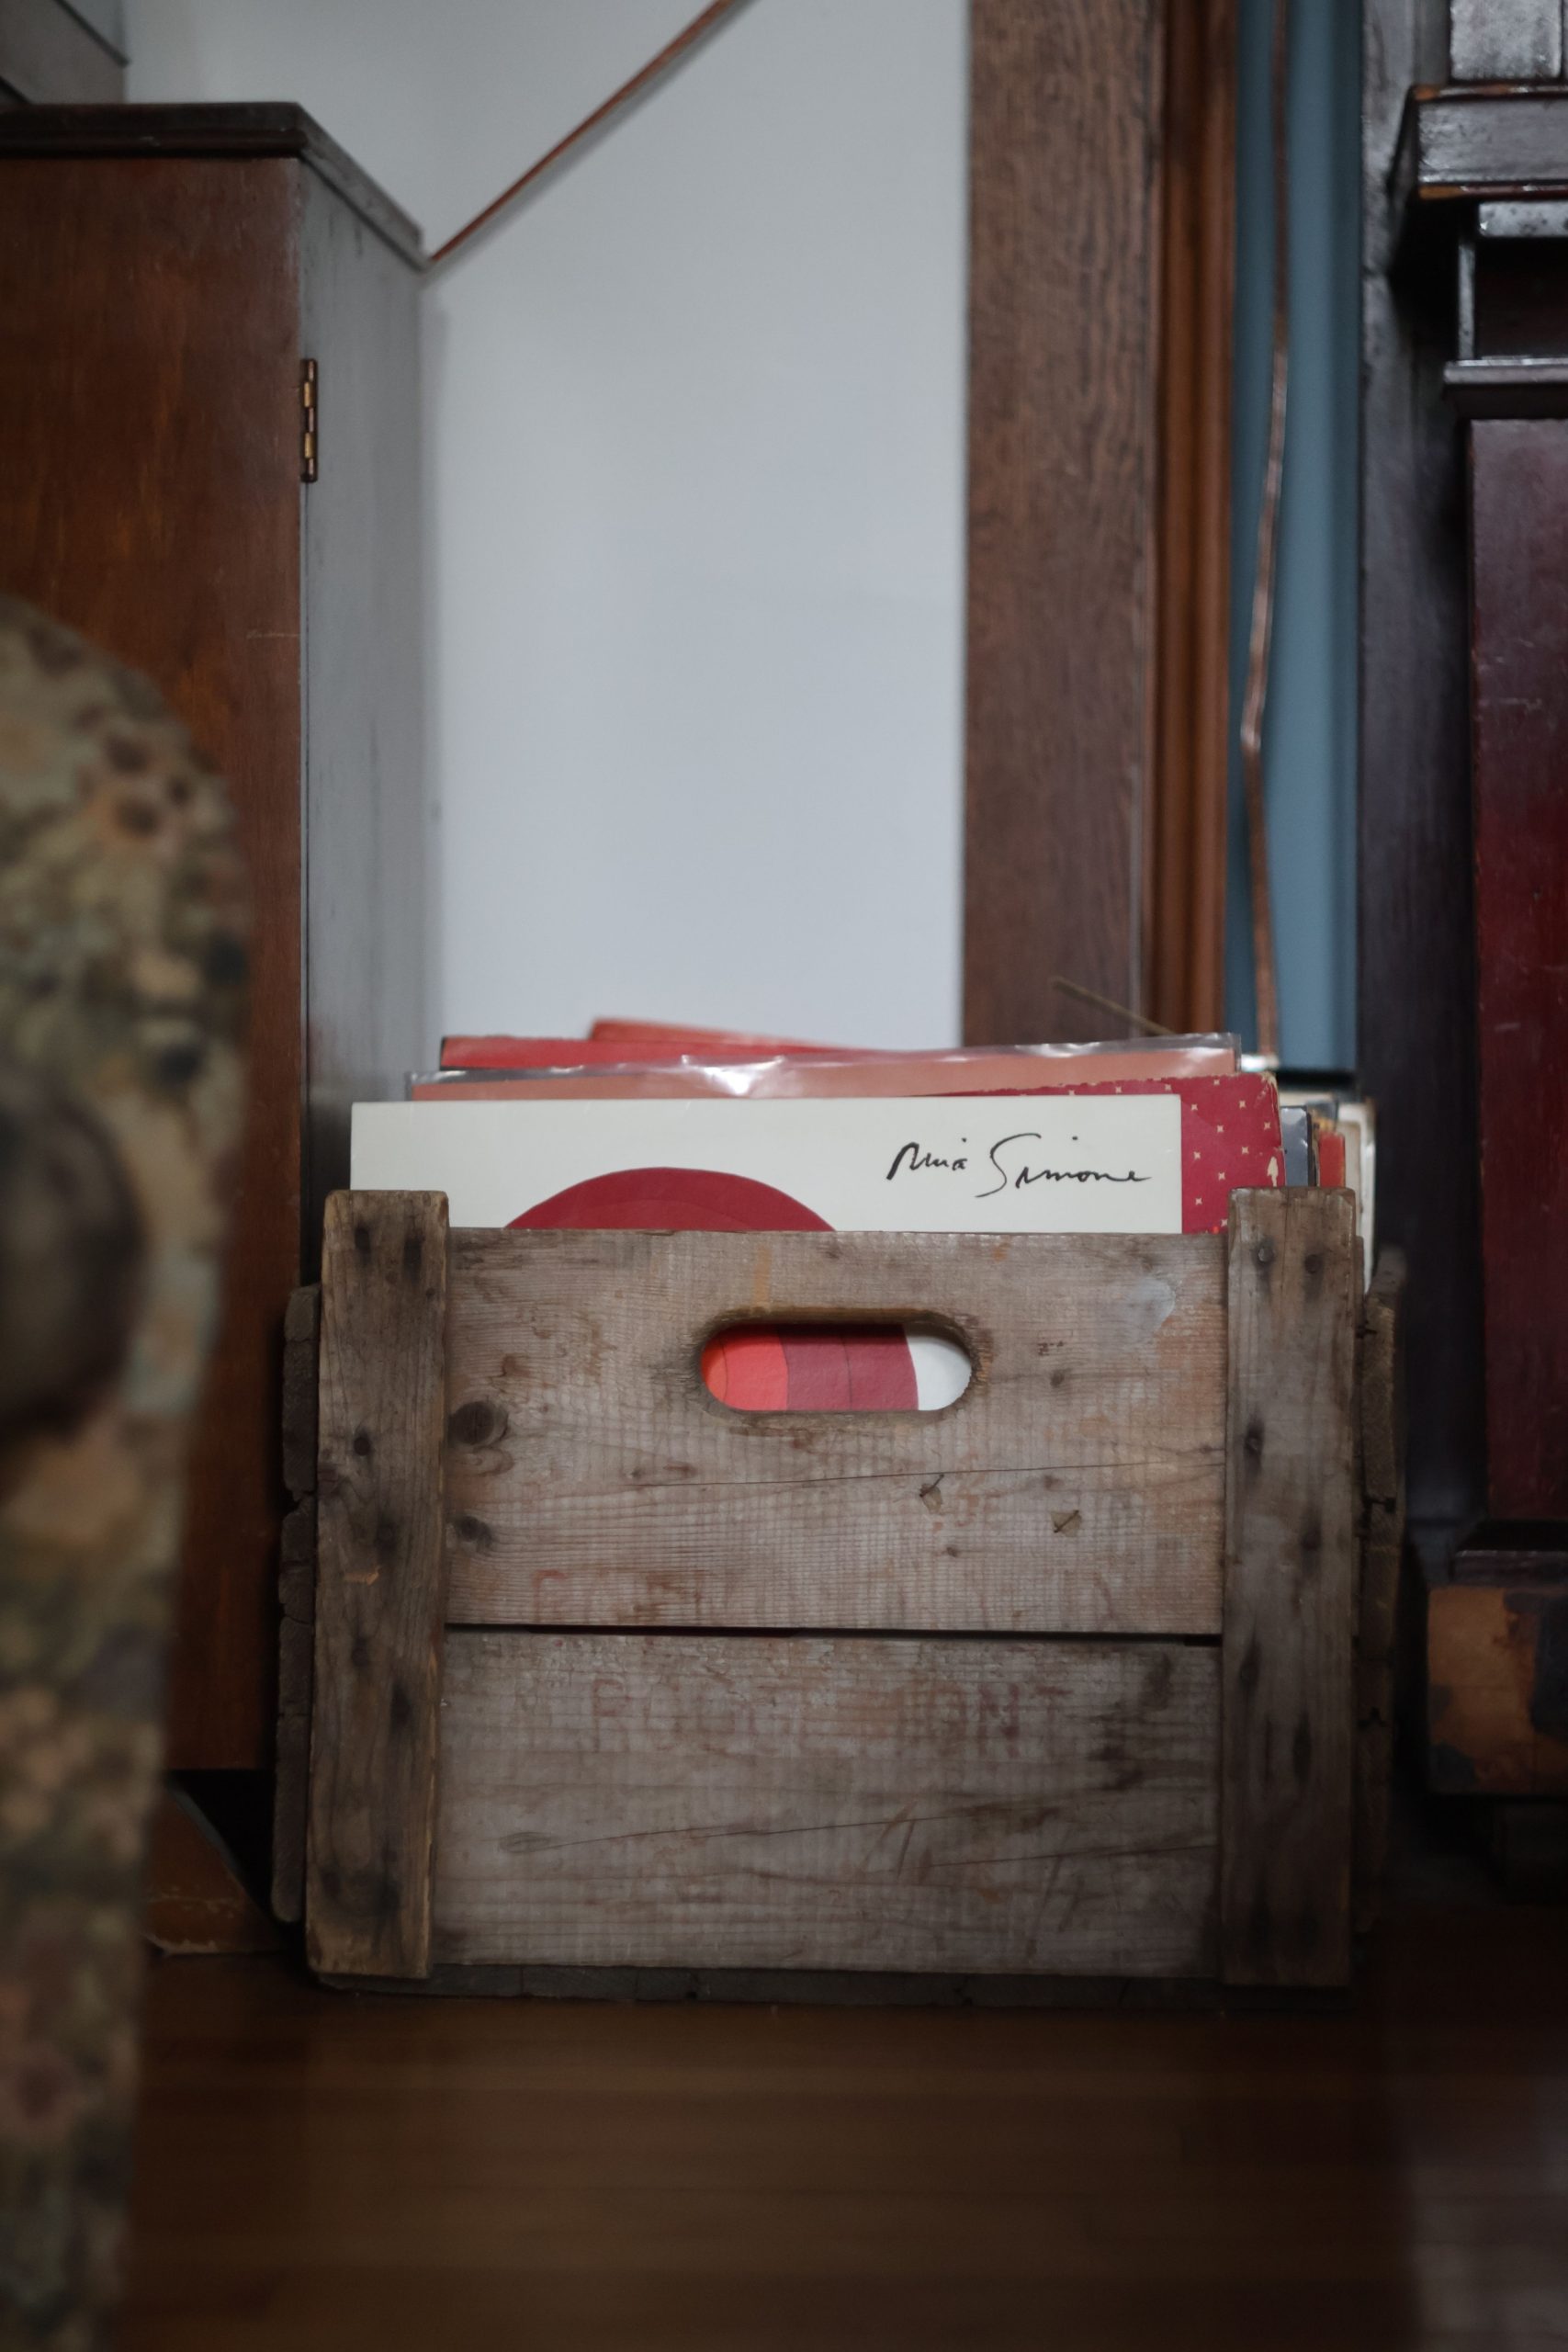
24. The Crate Digger: A Rustic Wooden Crate for Casual Floor Storage
It doesn’t get any more budget-friendly or charmingly rustic than this. A simple wooden crate is the original vinyl storage solution. You can find vintage ones at flea markets for $10-$30, or buy new, unfinished pine crates from a craft store like Michael’s or a home improvement store for under $20. You can leave it raw and weathered, stain it to match your floors, or paint it a bright color. For practically nothing, you get a portable, sturdy, and aesthetically pleasing way to store a small collection of 50-75 records. This is the most basic version of the rustic vibe seen in Idea #6.
“While this look is effortlessly cool, it has two major downsides for long-term storage.”
First, the wood on the inside of a rough crate can be abrasive, causing wear and tear on your album jackets over time. Second, and more importantly, this offers zero protection from dust, spills, or pet hair. It’s also a back-breaker if you have to bend down to flip through your records constantly. This is a great solution for a small, rotating collection of high-traffic albums, but not ideal for safely archiving your most valuable records.
25. The Shelf Stack: Storing Records Horizontally on an Open Shelf
Stacking records horizontally is usually a no-no, but it can work for small stacks in a sturdy shelf. Here’s how to do it safely: 1. Check your shelf. Ensure it’s solid wood or thick MDF, not cheap particleboard that will sag. 2. Limit the stack height. Never stack more than 15-20 records on top of each other. Any more, and the weight can cause damage. 3. Use bookends. Place a heavy bookend or object at one end of the stack to prevent it from sliding. 4. Rotate the stack. Every few weeks, re-stack the records in a different order to distribute the pressure evenly. This is for short-term, active-use storage only.
“This simple, casual look is a great example of the 80/20 rule in styling.”
80% of this setup is composed of simple, functional, and inexpensive elements: a basic wooden shelf, a standard white turntable, and records. The other 20% is the personality—the pop of green from the trailing plant and the bold, repeated red on the record covers and labels. This deliberate color repetition is a simple trick that makes the arrangement feel cohesive and thoughtfully put together, even though it’s incredibly simple.
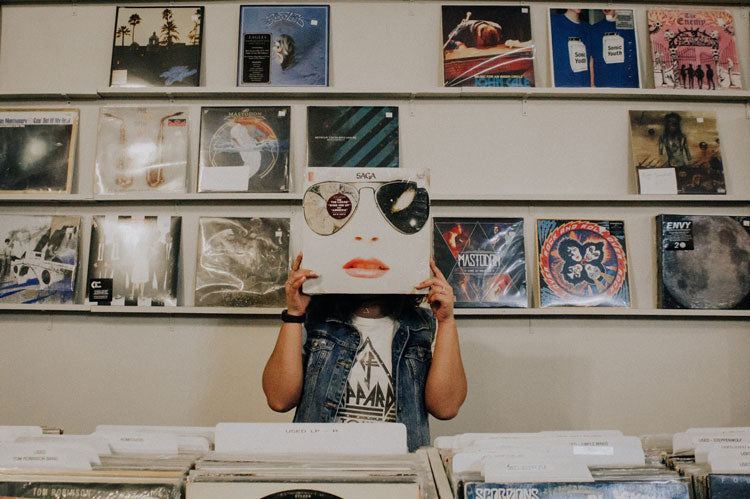
26. The Record Store Look: Wall Shelves and Deep Storage Bins
Let’s be real: this is a storage solution for a serious, multi-thousand-album collector. This is not for someone with 100 records. Managing a collection of this size displayed in open bins requires a significant commitment to organization. You’ll need a system—likely alphabetical or by genre—and the discipline to maintain it. It also requires a substantial financial investment in the records themselves. It’s a lifestyle choice as much as a design one, embracing the ‘organized chaos’ of a true enthusiast’s collection.
“To successfully replicate a record store display, you need one thing above all else: wall space.”
A single forward-facing record is 12 inches wide. A wall of shelves displaying records like this will need a minimum of 8-10 feet of uninterrupted wall length to have any real impact. The bins below would add to the footprint, requiring at least 3 feet of clearance in front of them for comfortable browsing. This is best suited for a dedicated music room, a large basement, or a very spacious living area with a prominent feature wall.
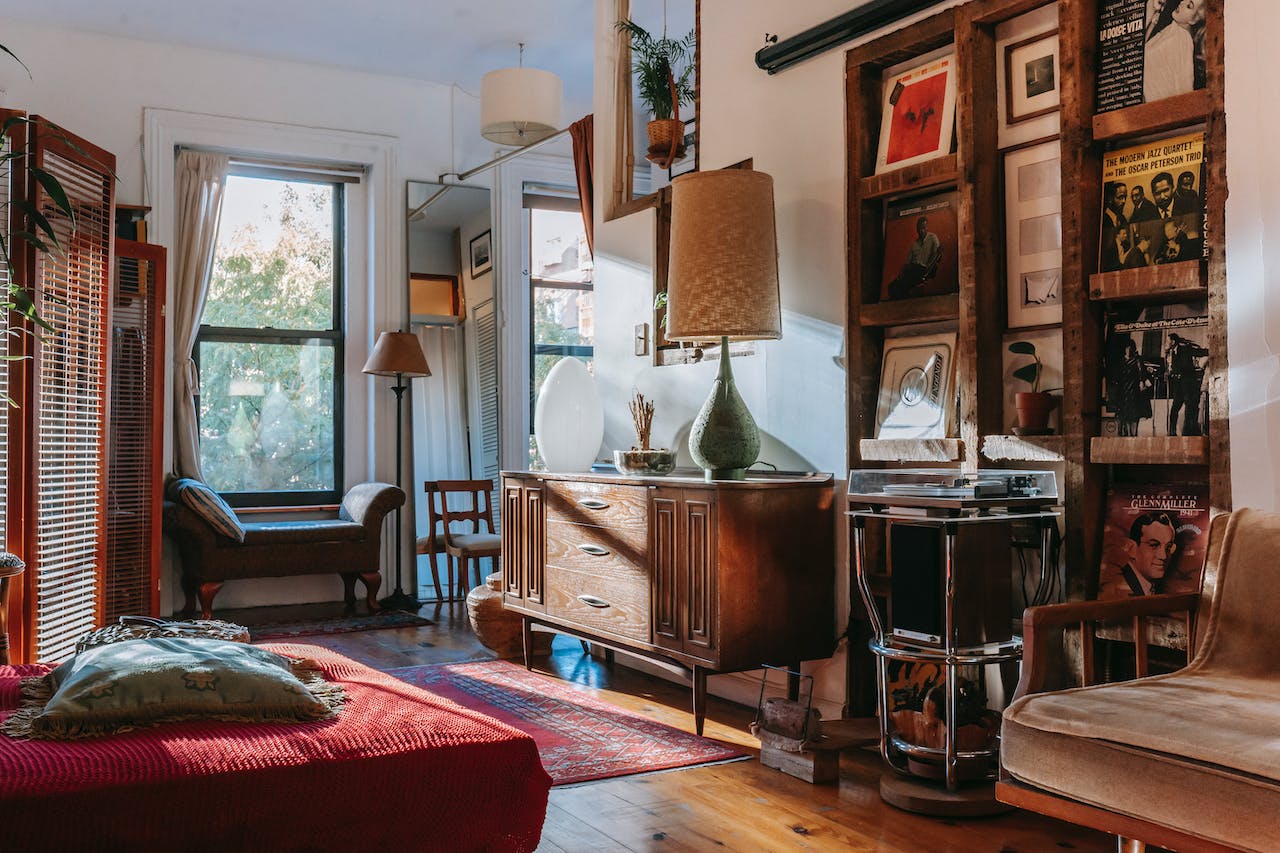
27. Layers of Warmth: Rustic Built-ins in an Eclectic Room
This room feels so incredibly cozy and personal because of its masterful use of layering. It’s not just about one piece of furniture; it’s about how multiple elements and textures overlap. The rustic wooden built-ins create a textured backdrop, the plush armchair and daybed add a soft middle ground, and the various lamps create overlapping pools of warm light. The red patterned rug anchors everything, while throws and plants add the final layer of personality. Nothing feels flat; everything has depth and history.
“The single element holding this entire eclectic room together is the massive, rustic built-in shelving unit.”
It’s the anchor. It provides the architectural backbone and visual weight that allows all the other, more disparate elements—the vintage credenza, the modern turntable stand, the plush seating—to make sense together. If you were to remove the built-ins, the room would dissolve into a random collection of furniture. The shelving provides the context and the ‘why’ for everything else being there.
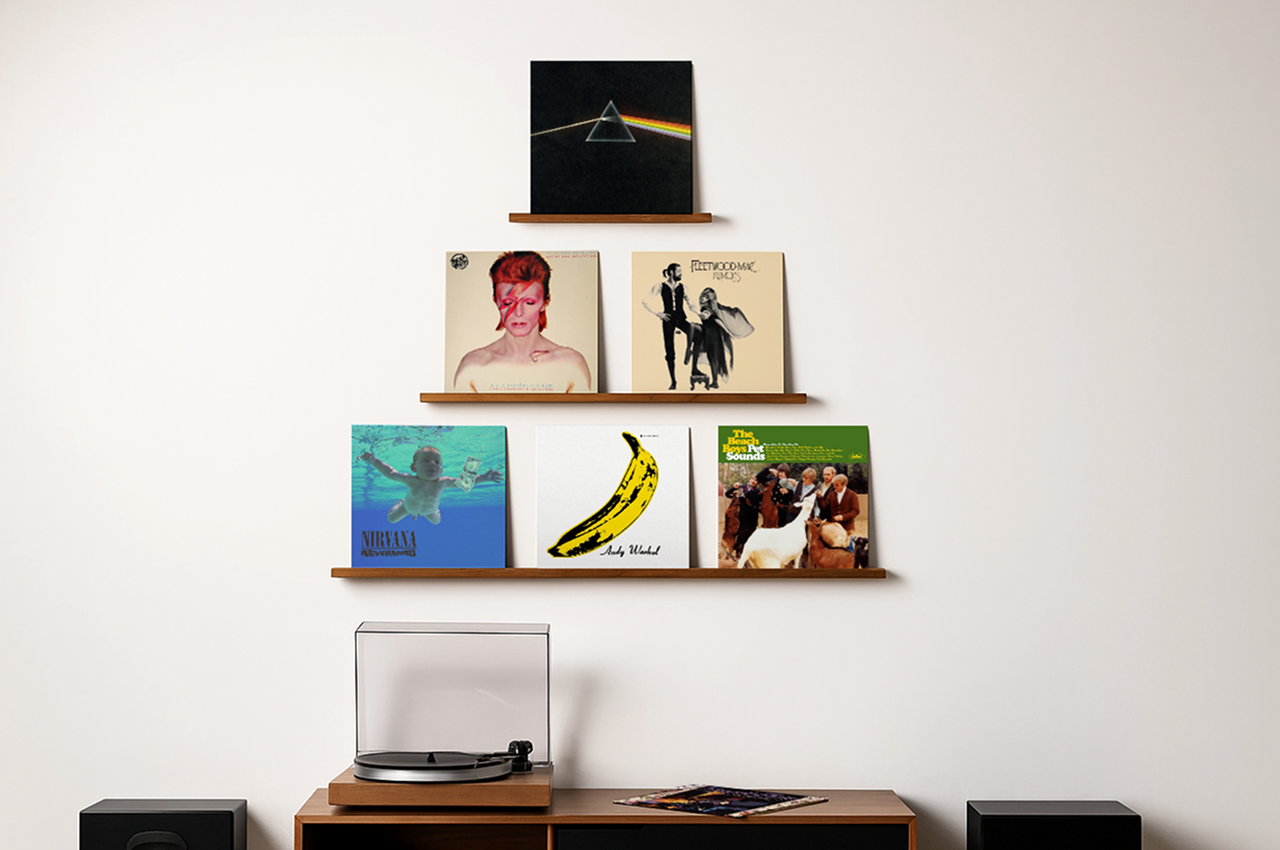
28. The Album Art Gallery Wall: A Trio of Thin Wooden Shelves
The key to a dynamic album art display is rotation. Think of these shelves not as permanent storage, but as a ‘Now Playing’ or ‘Featured’ gallery. The trick is to change the displayed albums regularly—once a week or once a month. This keeps the wall feeling fresh and interactive. A good rule of thumb is to create a theme for each rotation: display albums with similar color palettes, feature a specific artist or genre, or showcase your recent thrift store finds. This turns a static wall into a living part of your home.
“Creating this clean, gallery-style display is one of the most affordable ways to make a huge impact.”
It’s all about a small number of inexpensive items arranged with care, just like we see in Idea #23.
- Narrow Picture Ledges (3): $45 – $90 (IKEA’s MOSSLANDA is perfect for this, at about $15-$20 each)
- Media Console: $150 – $400 (Look for simple styles on Wayfair or at Target)
- Turntable & Speakers: $150 – $500 (Entry-level setups from brands like Audio-Technica are great)
- TOTAL: $345 – $990
- Budget alternative: Get this look for 40% less by thrifting the media console or using a simple bench, and buying used audio equipment.
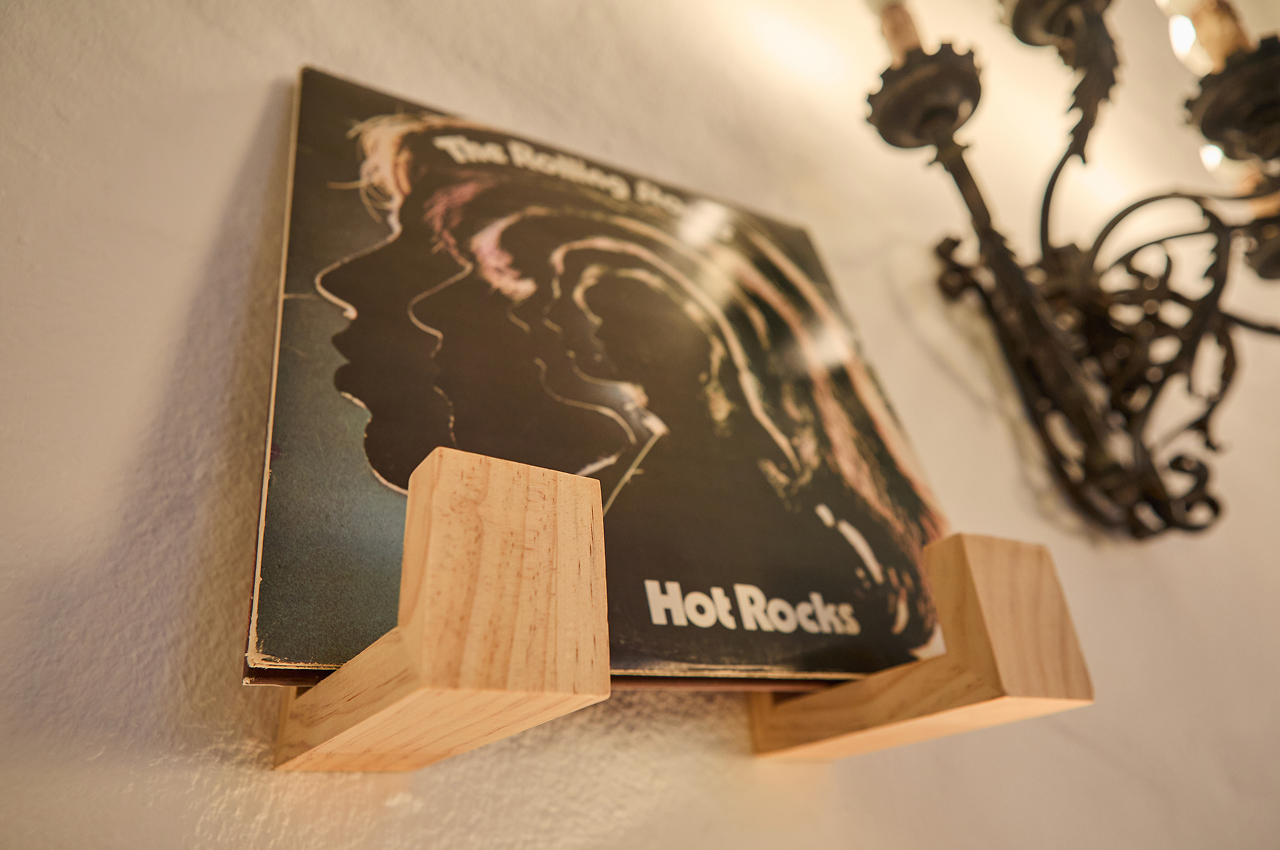
29. The Soloist: A Minimalist Wall Mount for a Single Favorite Album
The power of this idea is its extreme minimalism. By displaying a single, solitary album, you are elevating it to the status of fine art. It’s a declaration that this specific album is important. Surrounded by empty wall space, the album cover’s design, colors, and typography are given room to breathe and be appreciated in a way that’s impossible when it’s crammed on a shelf with a hundred other records. It’s the ultimate act of visual curation, creating a focal point with a single, meaningful object.
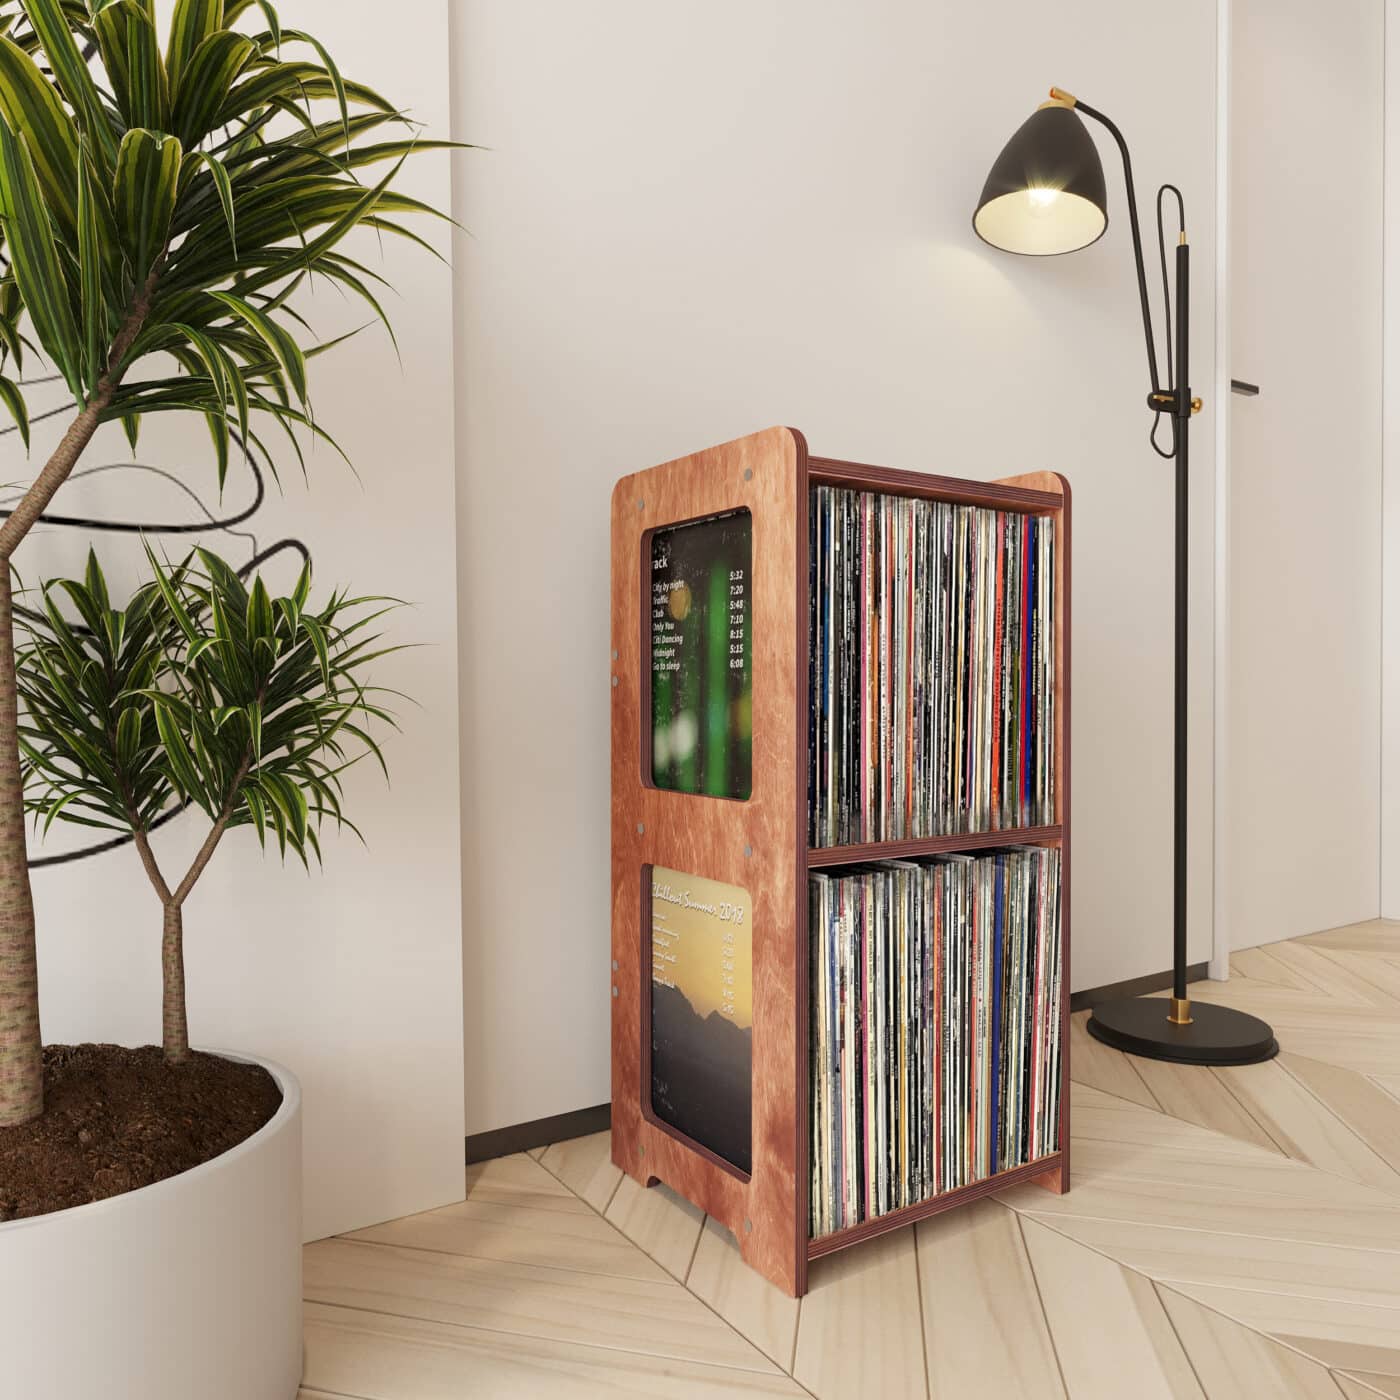
“This is a high-design look with a refreshingly low price tag.”
A single, beautifully crafted wooden wall mount like this can be found on Etsy or Amazon from independent makers for as little as $15 to $30. For the price of a couple of coffees, you can create a sophisticated, gallery-quality focal point in a hallway, bedroom, or above a console table. It’s proof that impactful design doesn’t have to be expensive; it just has to be intentional and confident in its simplicity.
30. The Tech-Integrated Console with Digital Display Screens
As our physical and digital lives become increasingly intertwined, our furniture is starting to reflect that reality. This piece represents the cutting edge of this trend, merging the tangible, tactile pleasure of collecting vinyl with the dynamic, informational nature of digital screens. It acknowledges that a modern music lover might be spinning a record while simultaneously queueing up a playlist on Spotify or looking up liner notes online. This is ‘phygital’ design, and it’s all about creating seamless experiences between our analog and digital worlds.
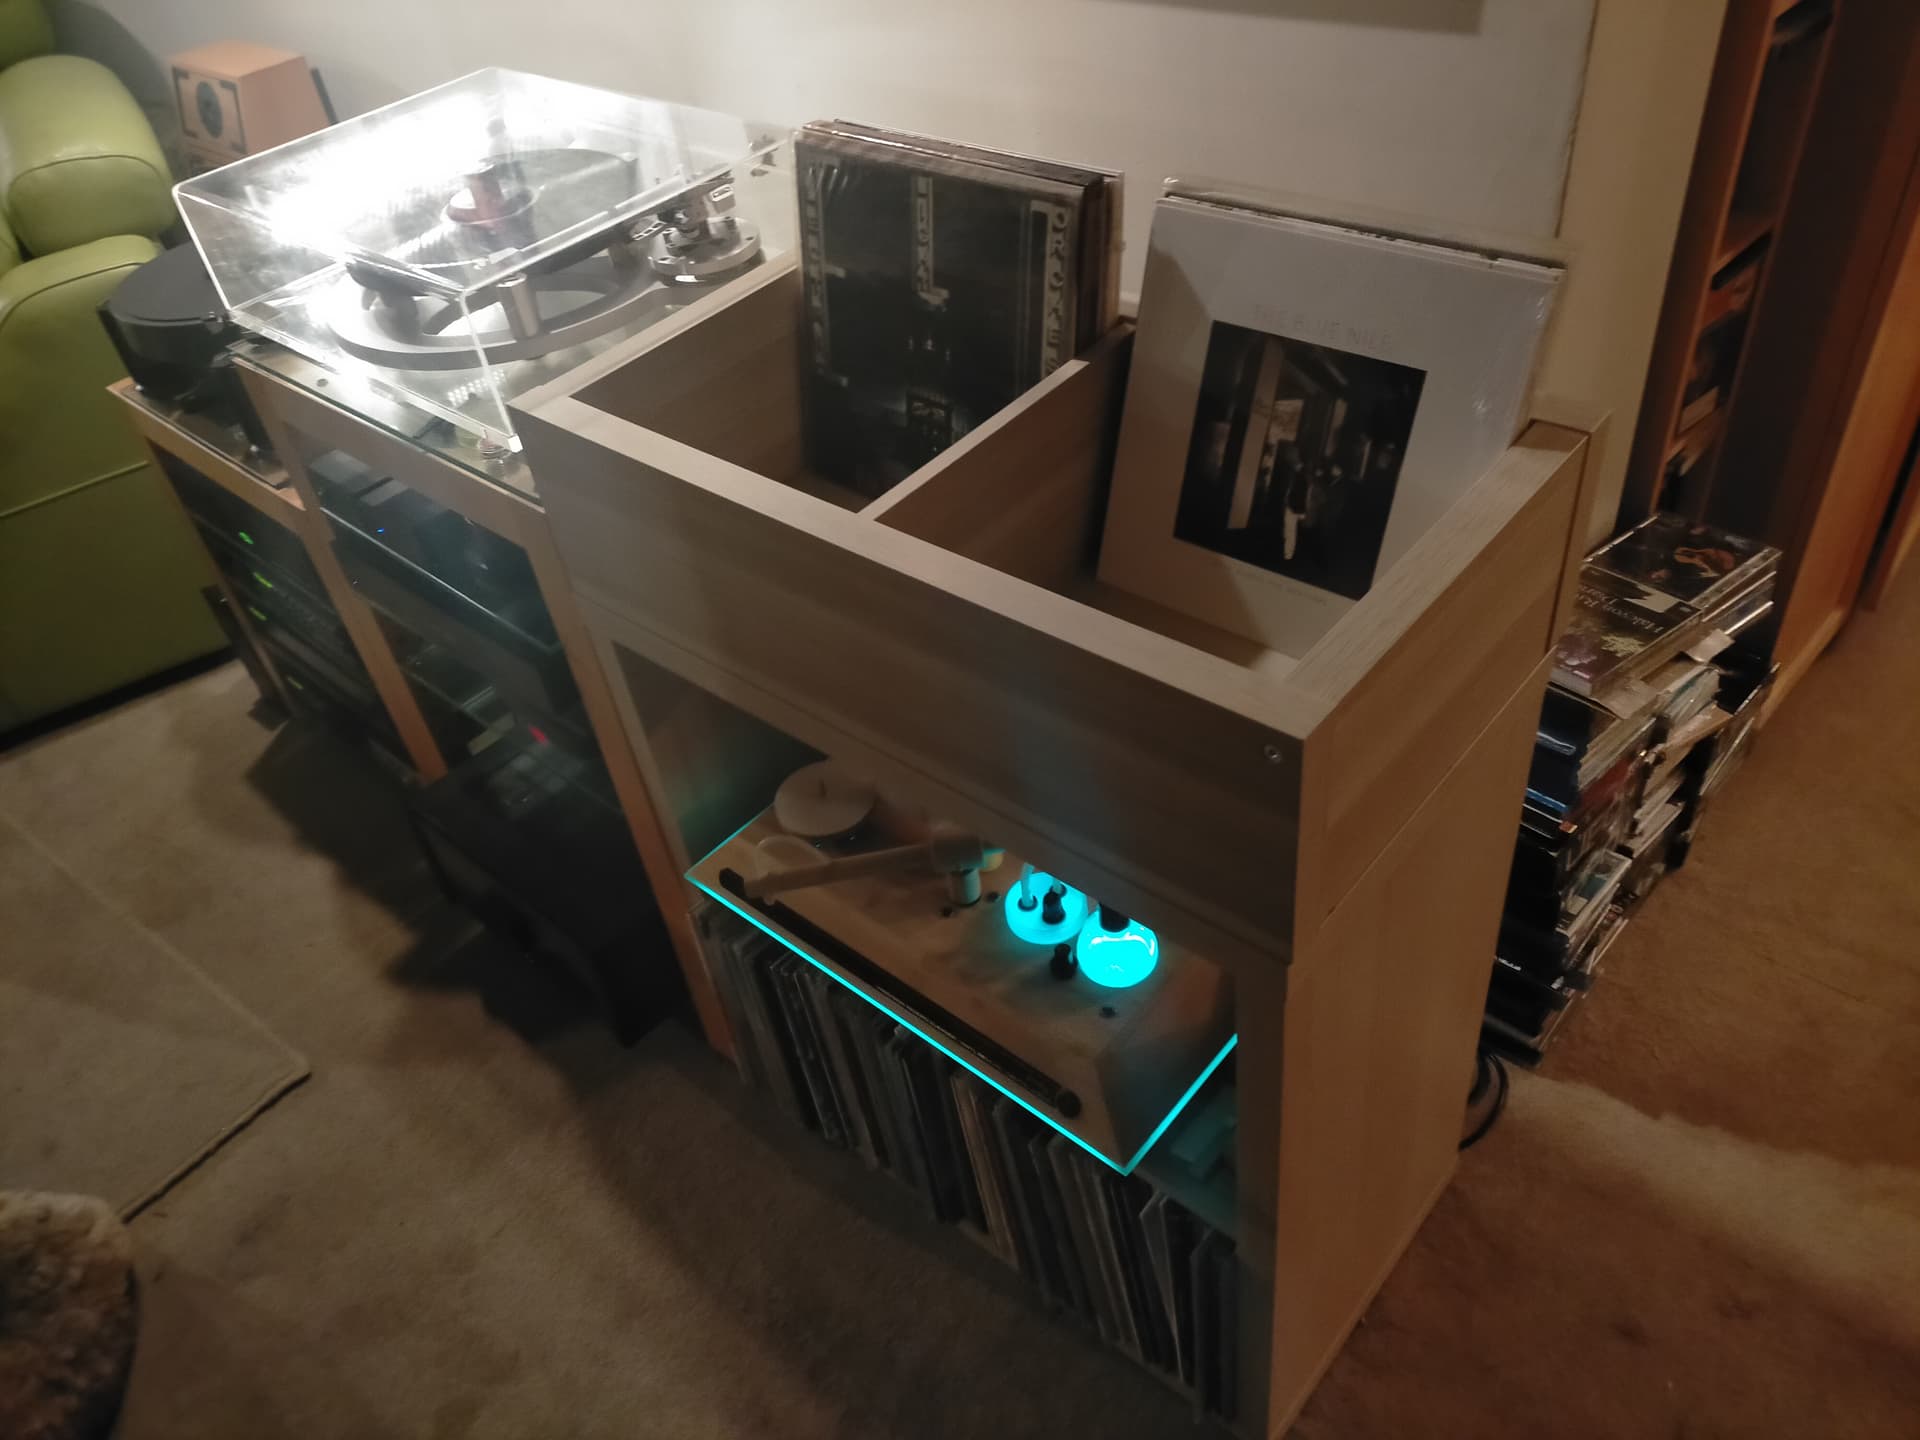
“Let’s have a frank conversation about built-in technology.”
While incredibly cool right now, integrated screens run the risk of becoming obsolete far faster than a simple wooden cabinet. In five or ten years, will those screens still be compatible with current services? Will the software be updated? A high-quality piece of wooden furniture can last for generations. A piece of tech-integrated furniture is tied to the lifespan of its electronics. It’s a fantastic, futuristic piece, but you have to go into it knowing it might not age as gracefully as a traditional console.
Time to Drop the Needle on Your New Design
Your record collection tells a story, and the way you choose to store and display it is the introduction to that story. Whether you go for a grand library wall or a simple, artful shelf, the most important thing is to choose a solution that brings you joy and makes you want to listen to your music more often. Now go on, get inspired, and give your vinyl the home it deserves.
Ready to get started? Pin your favorite ideas from this article to your own Pinterest boards to keep the inspiration flowing!